Adding Subscriptions to a Quarto Site
Subscribable Subscriptions

The Quarto Documenation covers how to implement website subscriptions at a surface level. This guide goes into the details on how one could do so, with three different options. That said, this guide can also be helpful for sites that do not use Quarto.
The three ways this guide will cover:
Readymade Services
These are services that handle and automate everything for you. MailChimp is mentioned in the Quarto Docs as one option, but is not covered in this guide as it appears they are depracting the RSS email feed function which is necessary. Instead, we have found MailerLite to be a suitable alternative that is easy to setup and use.
Online Forms
Though more manual, it’s good for just getting started or if you do not have an alternative address — many services like MailerLite require you to include a physical address in your emails. This options will dive into embedding forms, and gathering emails from there.
HTML/JS
For when you want to handle the frontend and the backend.
Switch between the tabs below to view the steps for each option.
The first thing we need to do is create a MailerLite Campaign. That is what will actually send the email.
Quarto Setup
Make sure RSS feeds are enabled on your blog. Instructions for how to do this are in the Quarto Documentation.
MailerLite Campaign Setup
Once you have an account and are logged in, create an RSS Campaign.
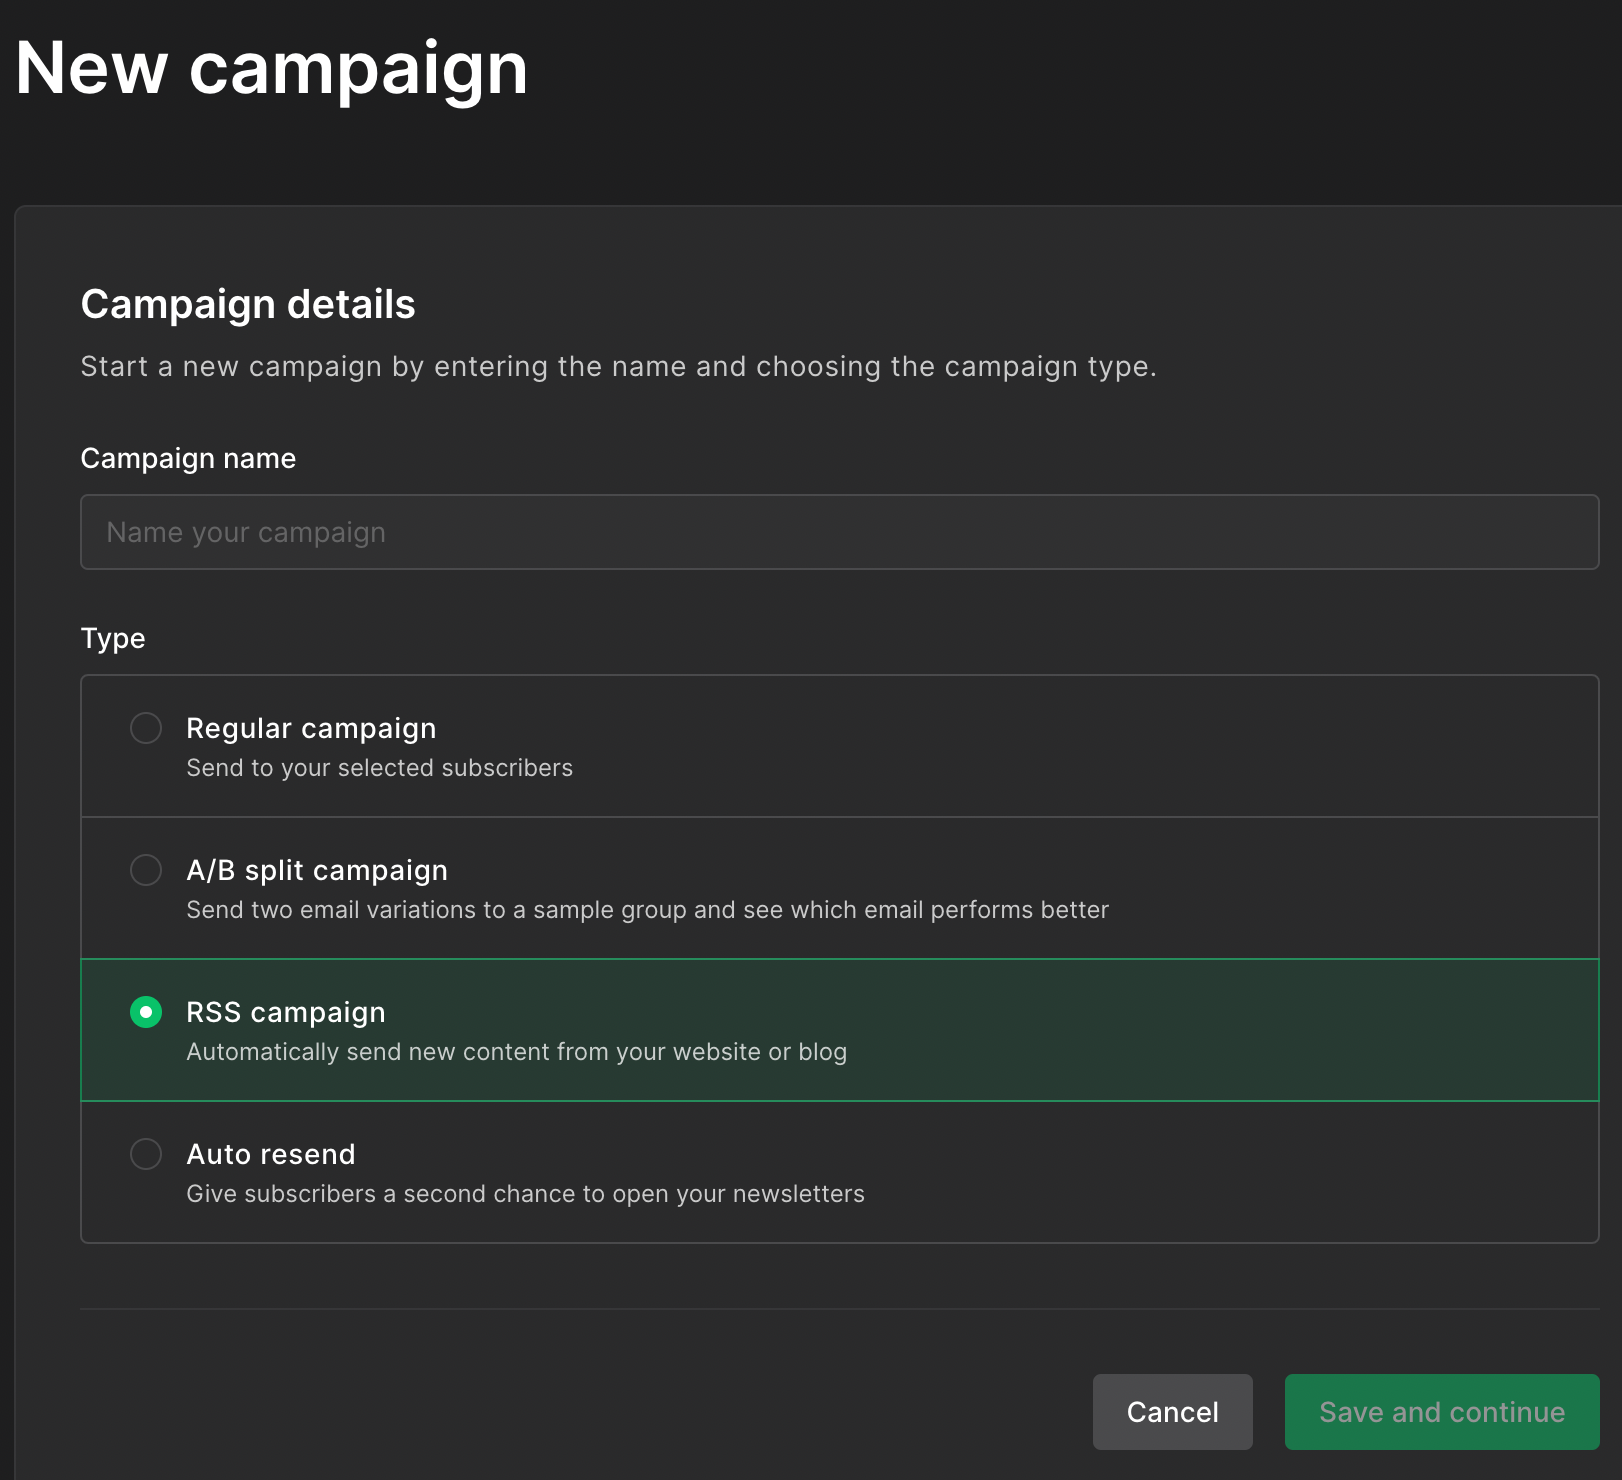
As you complete the Campaign creation process there are a few key options to look out for.
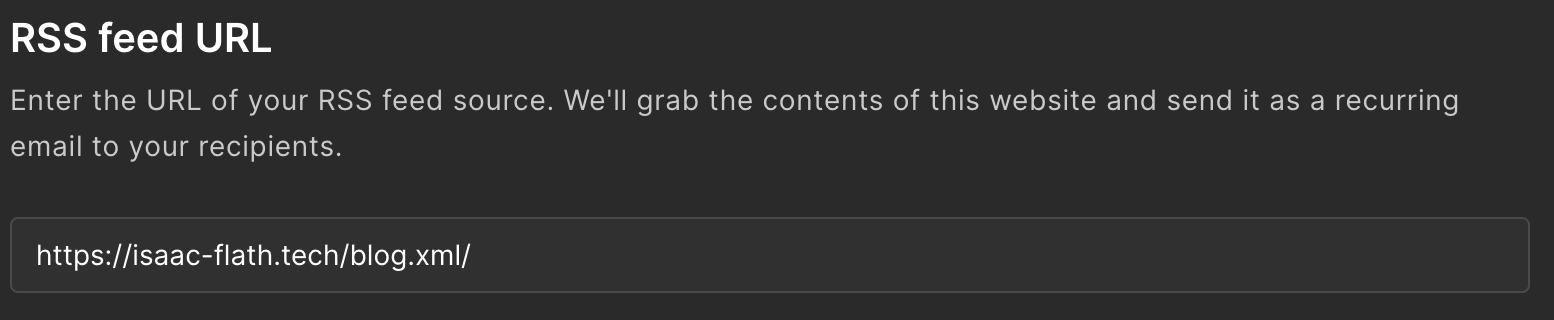
As you progress through the signup form you will need to fill in some information and, including the URL of your RSS feed. It should be a URL that ends with .xml.
I recommend setting the email to only be sent when you have new blog posts. This ensures that an email is only sent if you’ve published a new post. Otherwise, an email is sent on a regular interval with the latest posts regardless of whether there is new content.

On the content page, choose start from scratch (free tier) or select a template (paid) and design your email that will go out.
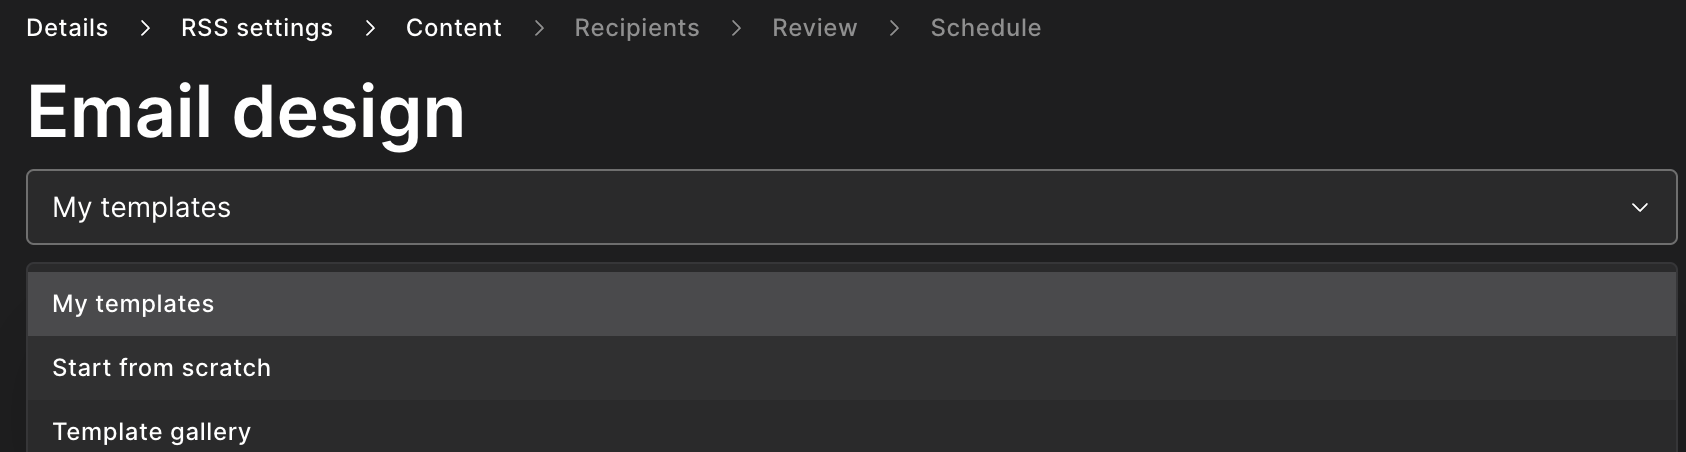
When you create an RSS campaign there are templates that can be used in the content tab for designing this email. These are paid features that you get for free for the first 30 days. Only use the templates if you intend to pay as they are not included in the free plan.
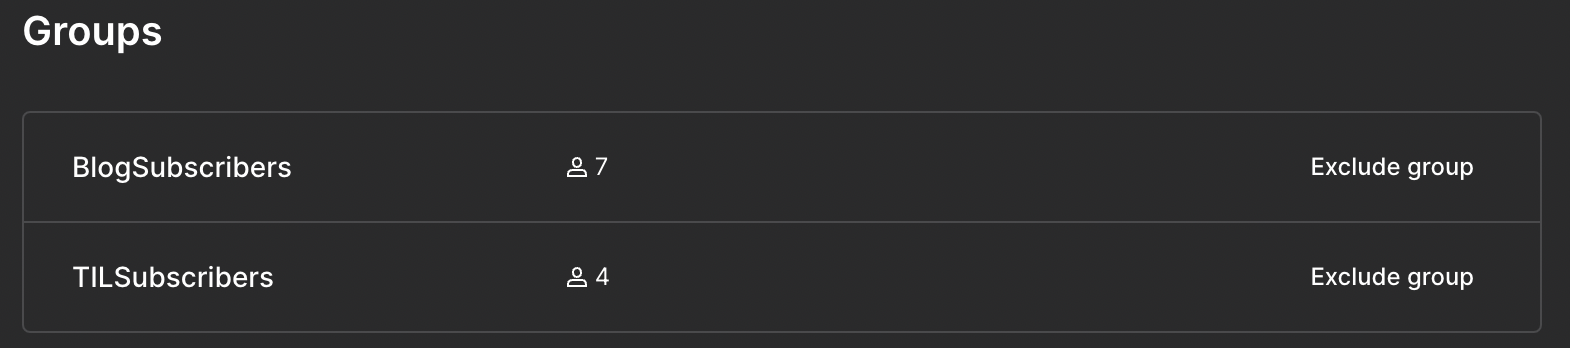
Select All Active Subscribers to send to.

You can create individual subscriber groups to have different campaigns go to different groups to give subscribers more options. Example here.
Continue through to schedule your campaign!
Create subscribe.html
Now that the campaign is set up and will go out to all subscribers, we need to create the widget that allows users to subscribe to the blog. In other words we need a way for users to sign up! In Quarto, this is defined in the subscribe.html file. First, we need to use MailerLite to create the contents.
In MailerLite this is called an embedded form. We can use their GUI to Create an embedded form.
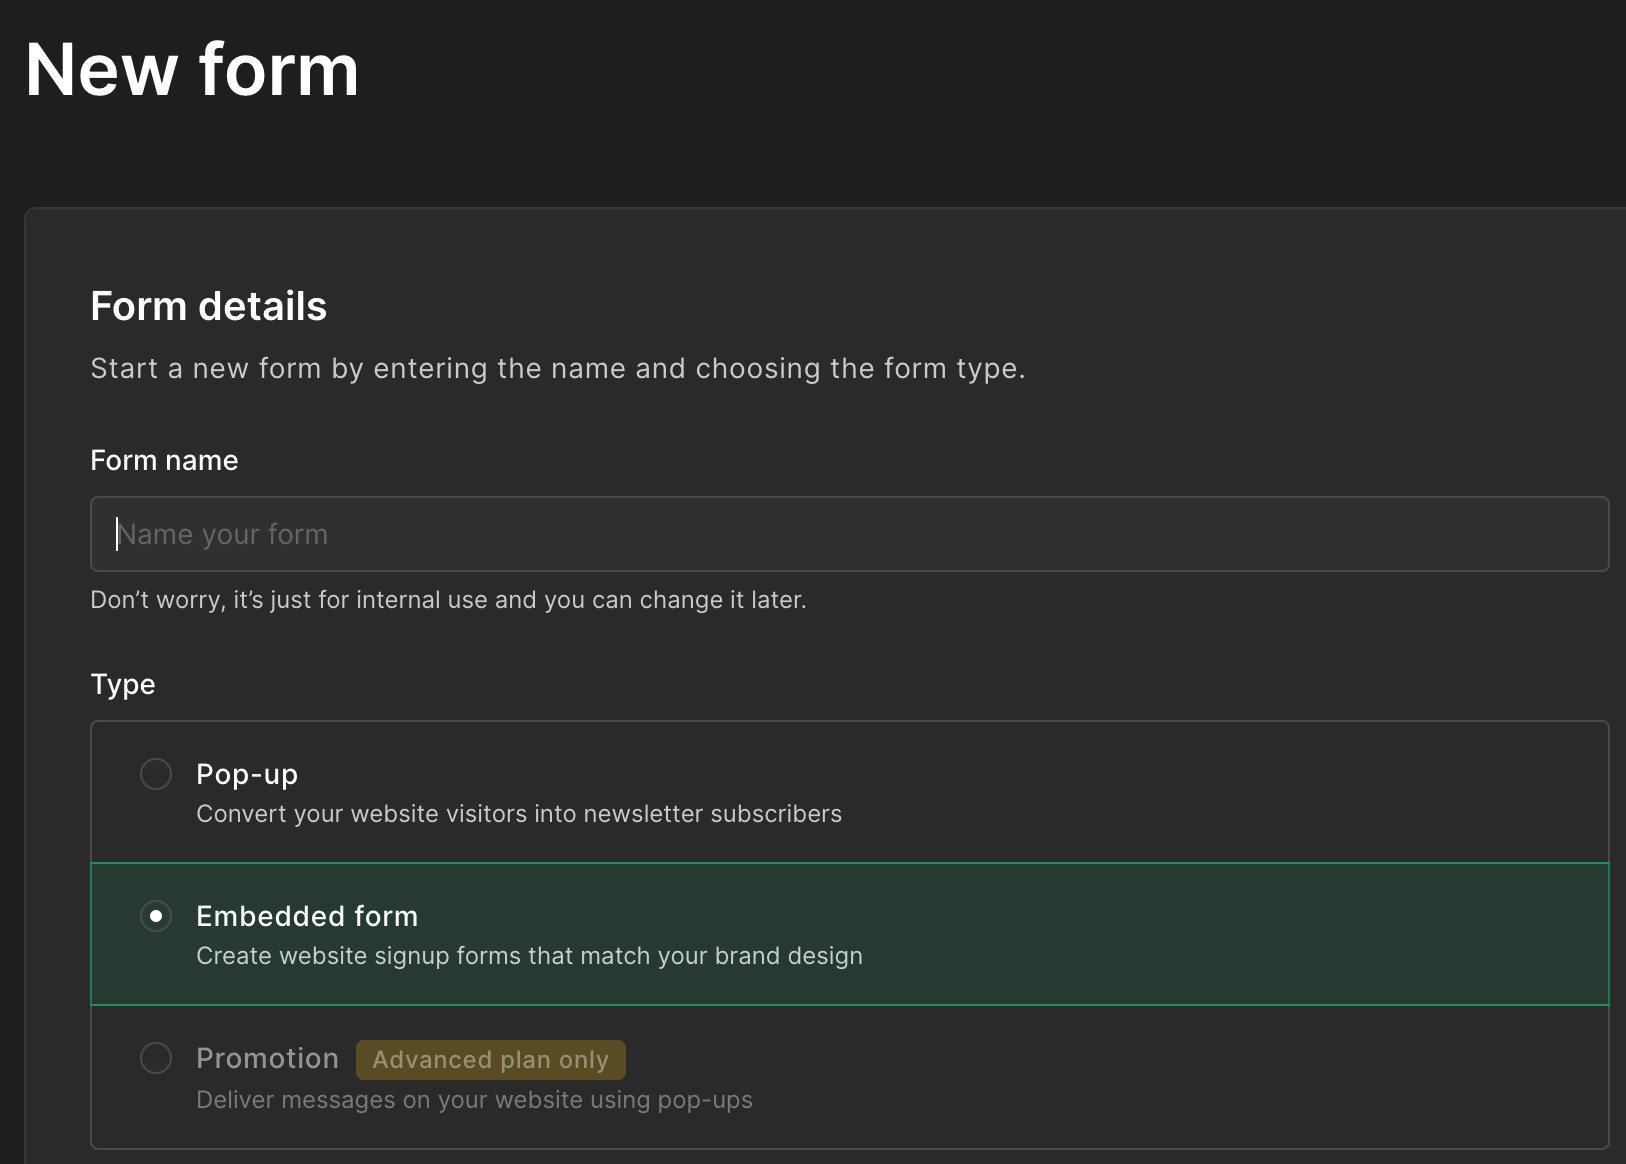
Once we start the form we can use the GUI form editor to design what we want the form to look like.
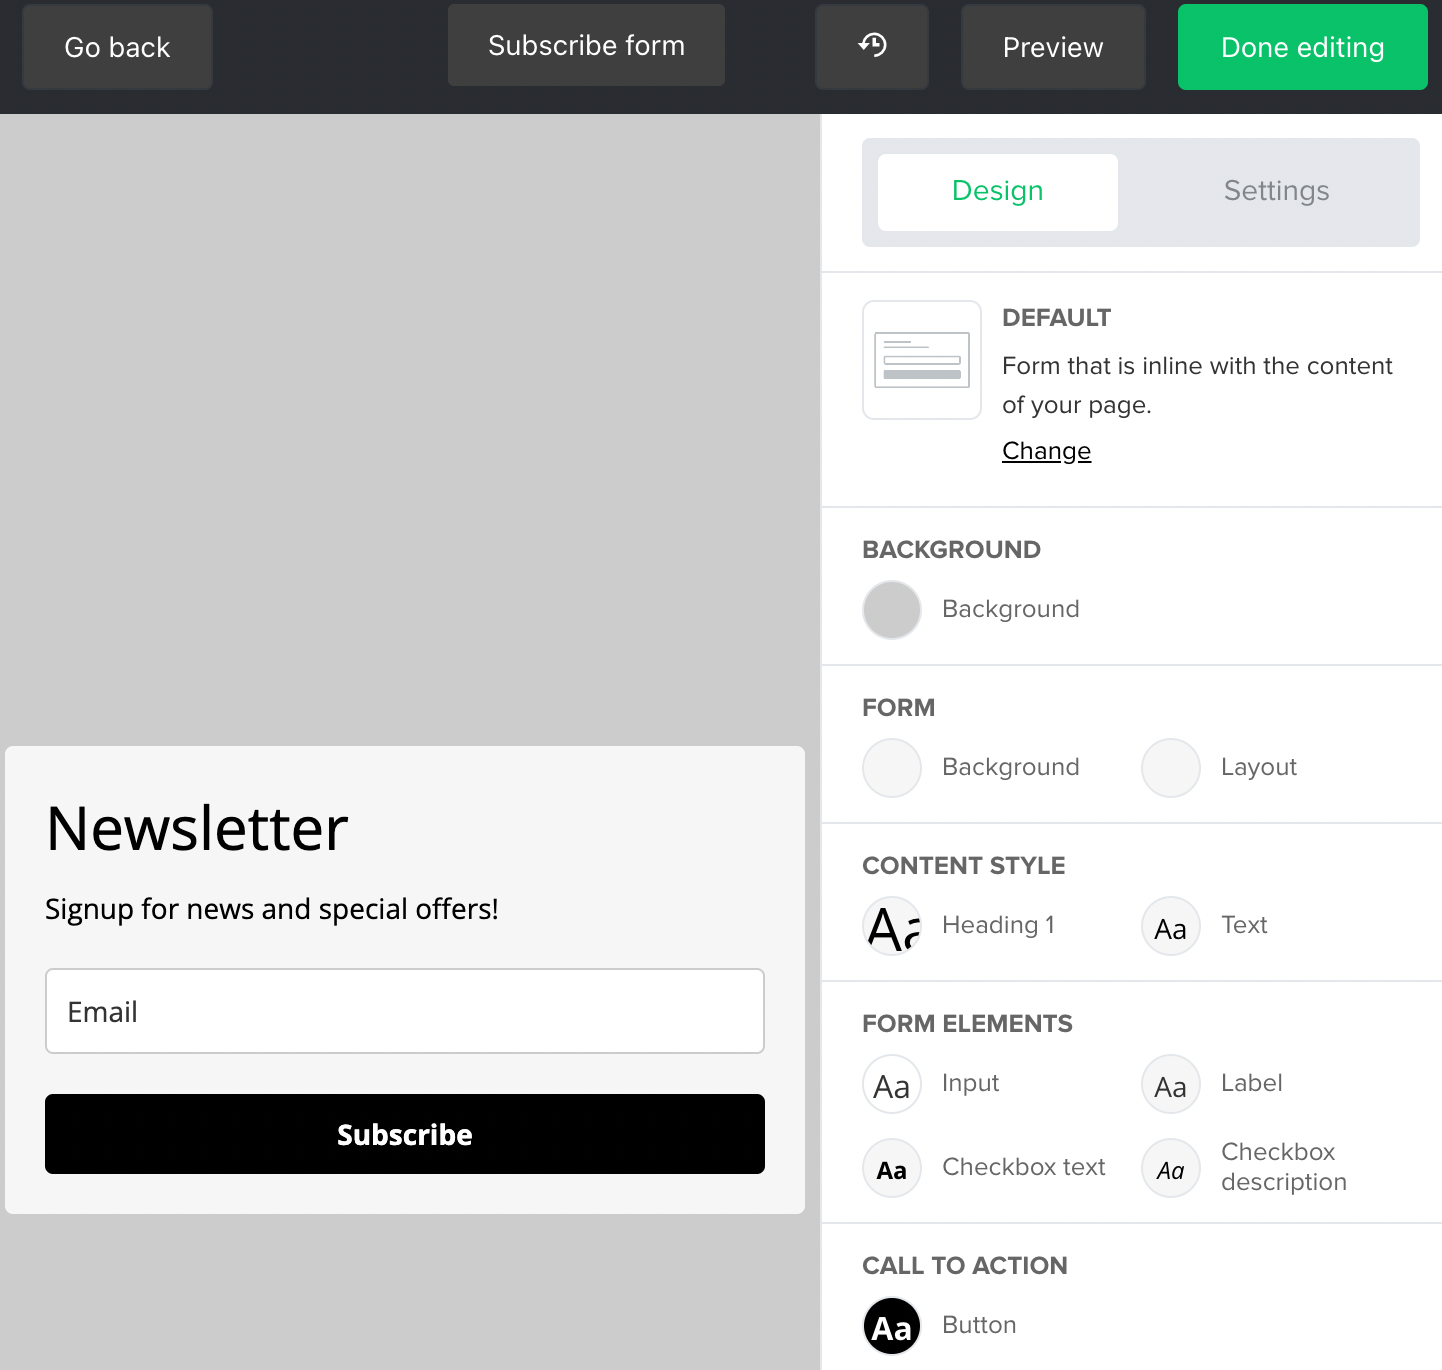
I recommend leaving it with the default design for now, you can always come back and re-style it later if you don’t like how it looks on your blog. But it’s much easier to get something working then improve upon it once it’s working than to try to make something perfect the first time through!
Once you created the form it will take you to that forms Overview page. Scroll down to look for the Embed form into your website section. In that section select HTML Code and copy the code provided.
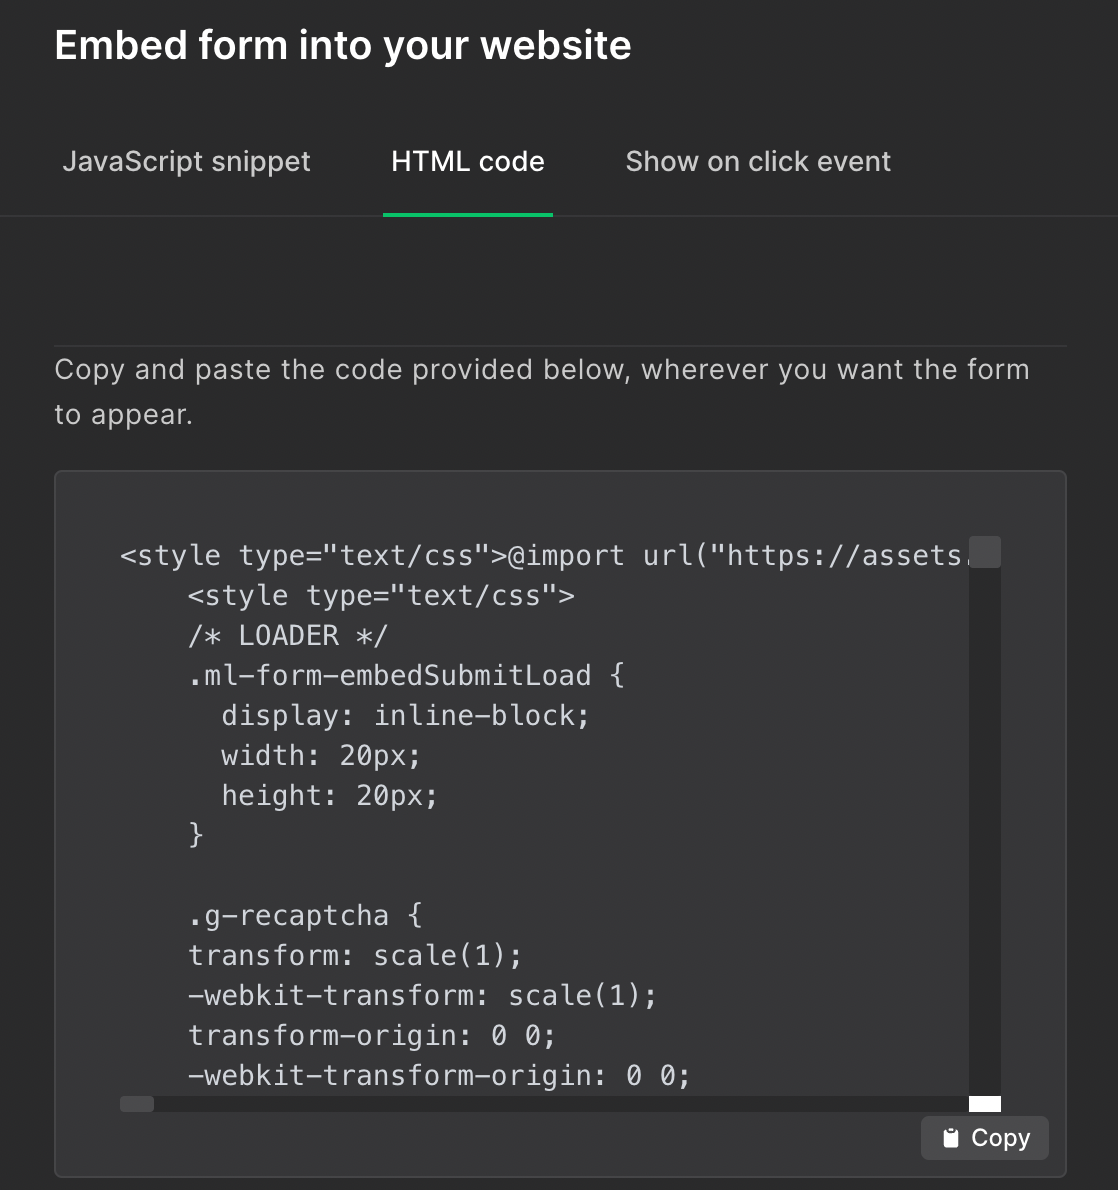
Paste this code into a subscribe.html file at the top level of your blog’s directory.
Modify _quarto.yml
Add the subscribe.html file to your _quarto.yml file by adding it to the margin-header attribute. This option will look like this in your _quarto.yml file.
website:
  # (additional metadata excluded for brevity)
  margin-header: subscribe.html
Conclusion
That is all it takes to get subscriptions working on your blog with MailerLite! Everything you just set up is editable so if you don’t like how the email or the subscription widget looks, you can go in and edit your templates.
Live example
Check out Isaac Flath’s blog to see the MailerLite widget in action!
Perhaps you don’t have an alternative address. Or perhaps you just want something simple to get started with. There’s still a way to implement blog subscriptions! It requires more manual effort, but gets the job done: embedding online forms (e.g., Google Forms, Microsoft Forms, etc.).
It involves embedding a form in your website, collecting responses from it, creating a mailing list from those responses, and then composing and sending an email with the list.
The example in the steps below use Google Forms, though it would be very similar to Microsoft Forms. The steps below should also generally apply to any other online forms service.
Step 1: Create the form.
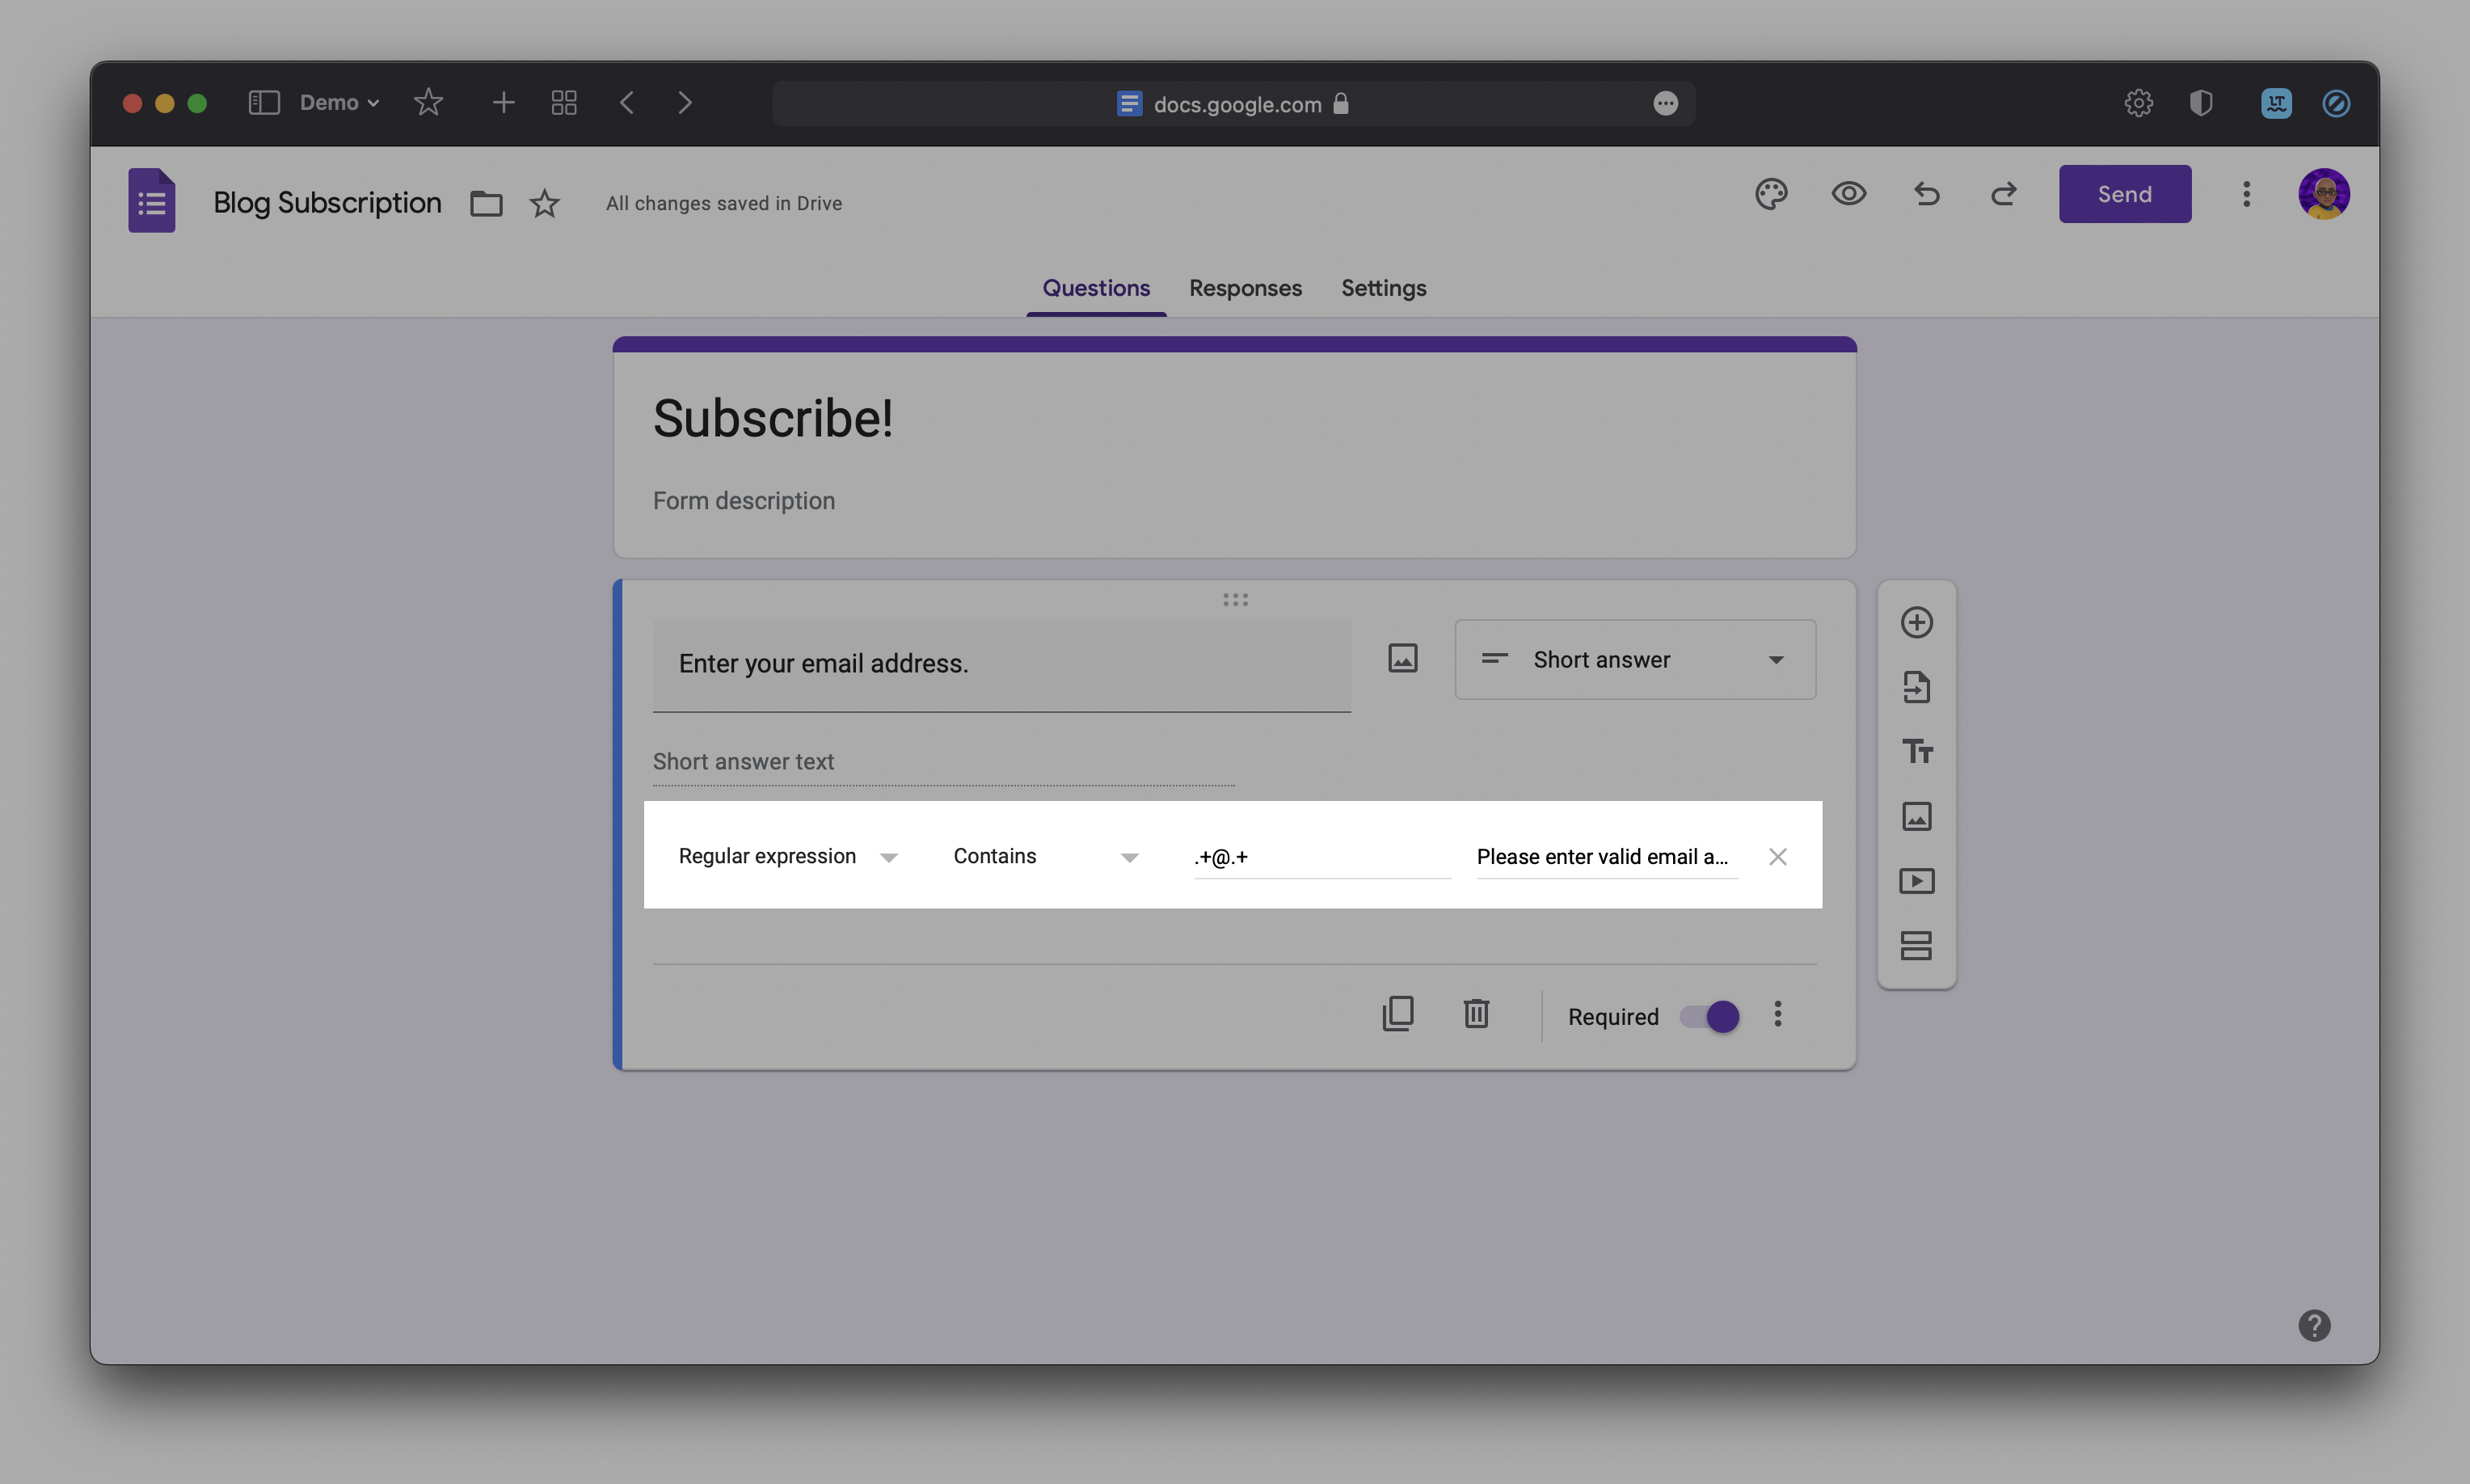
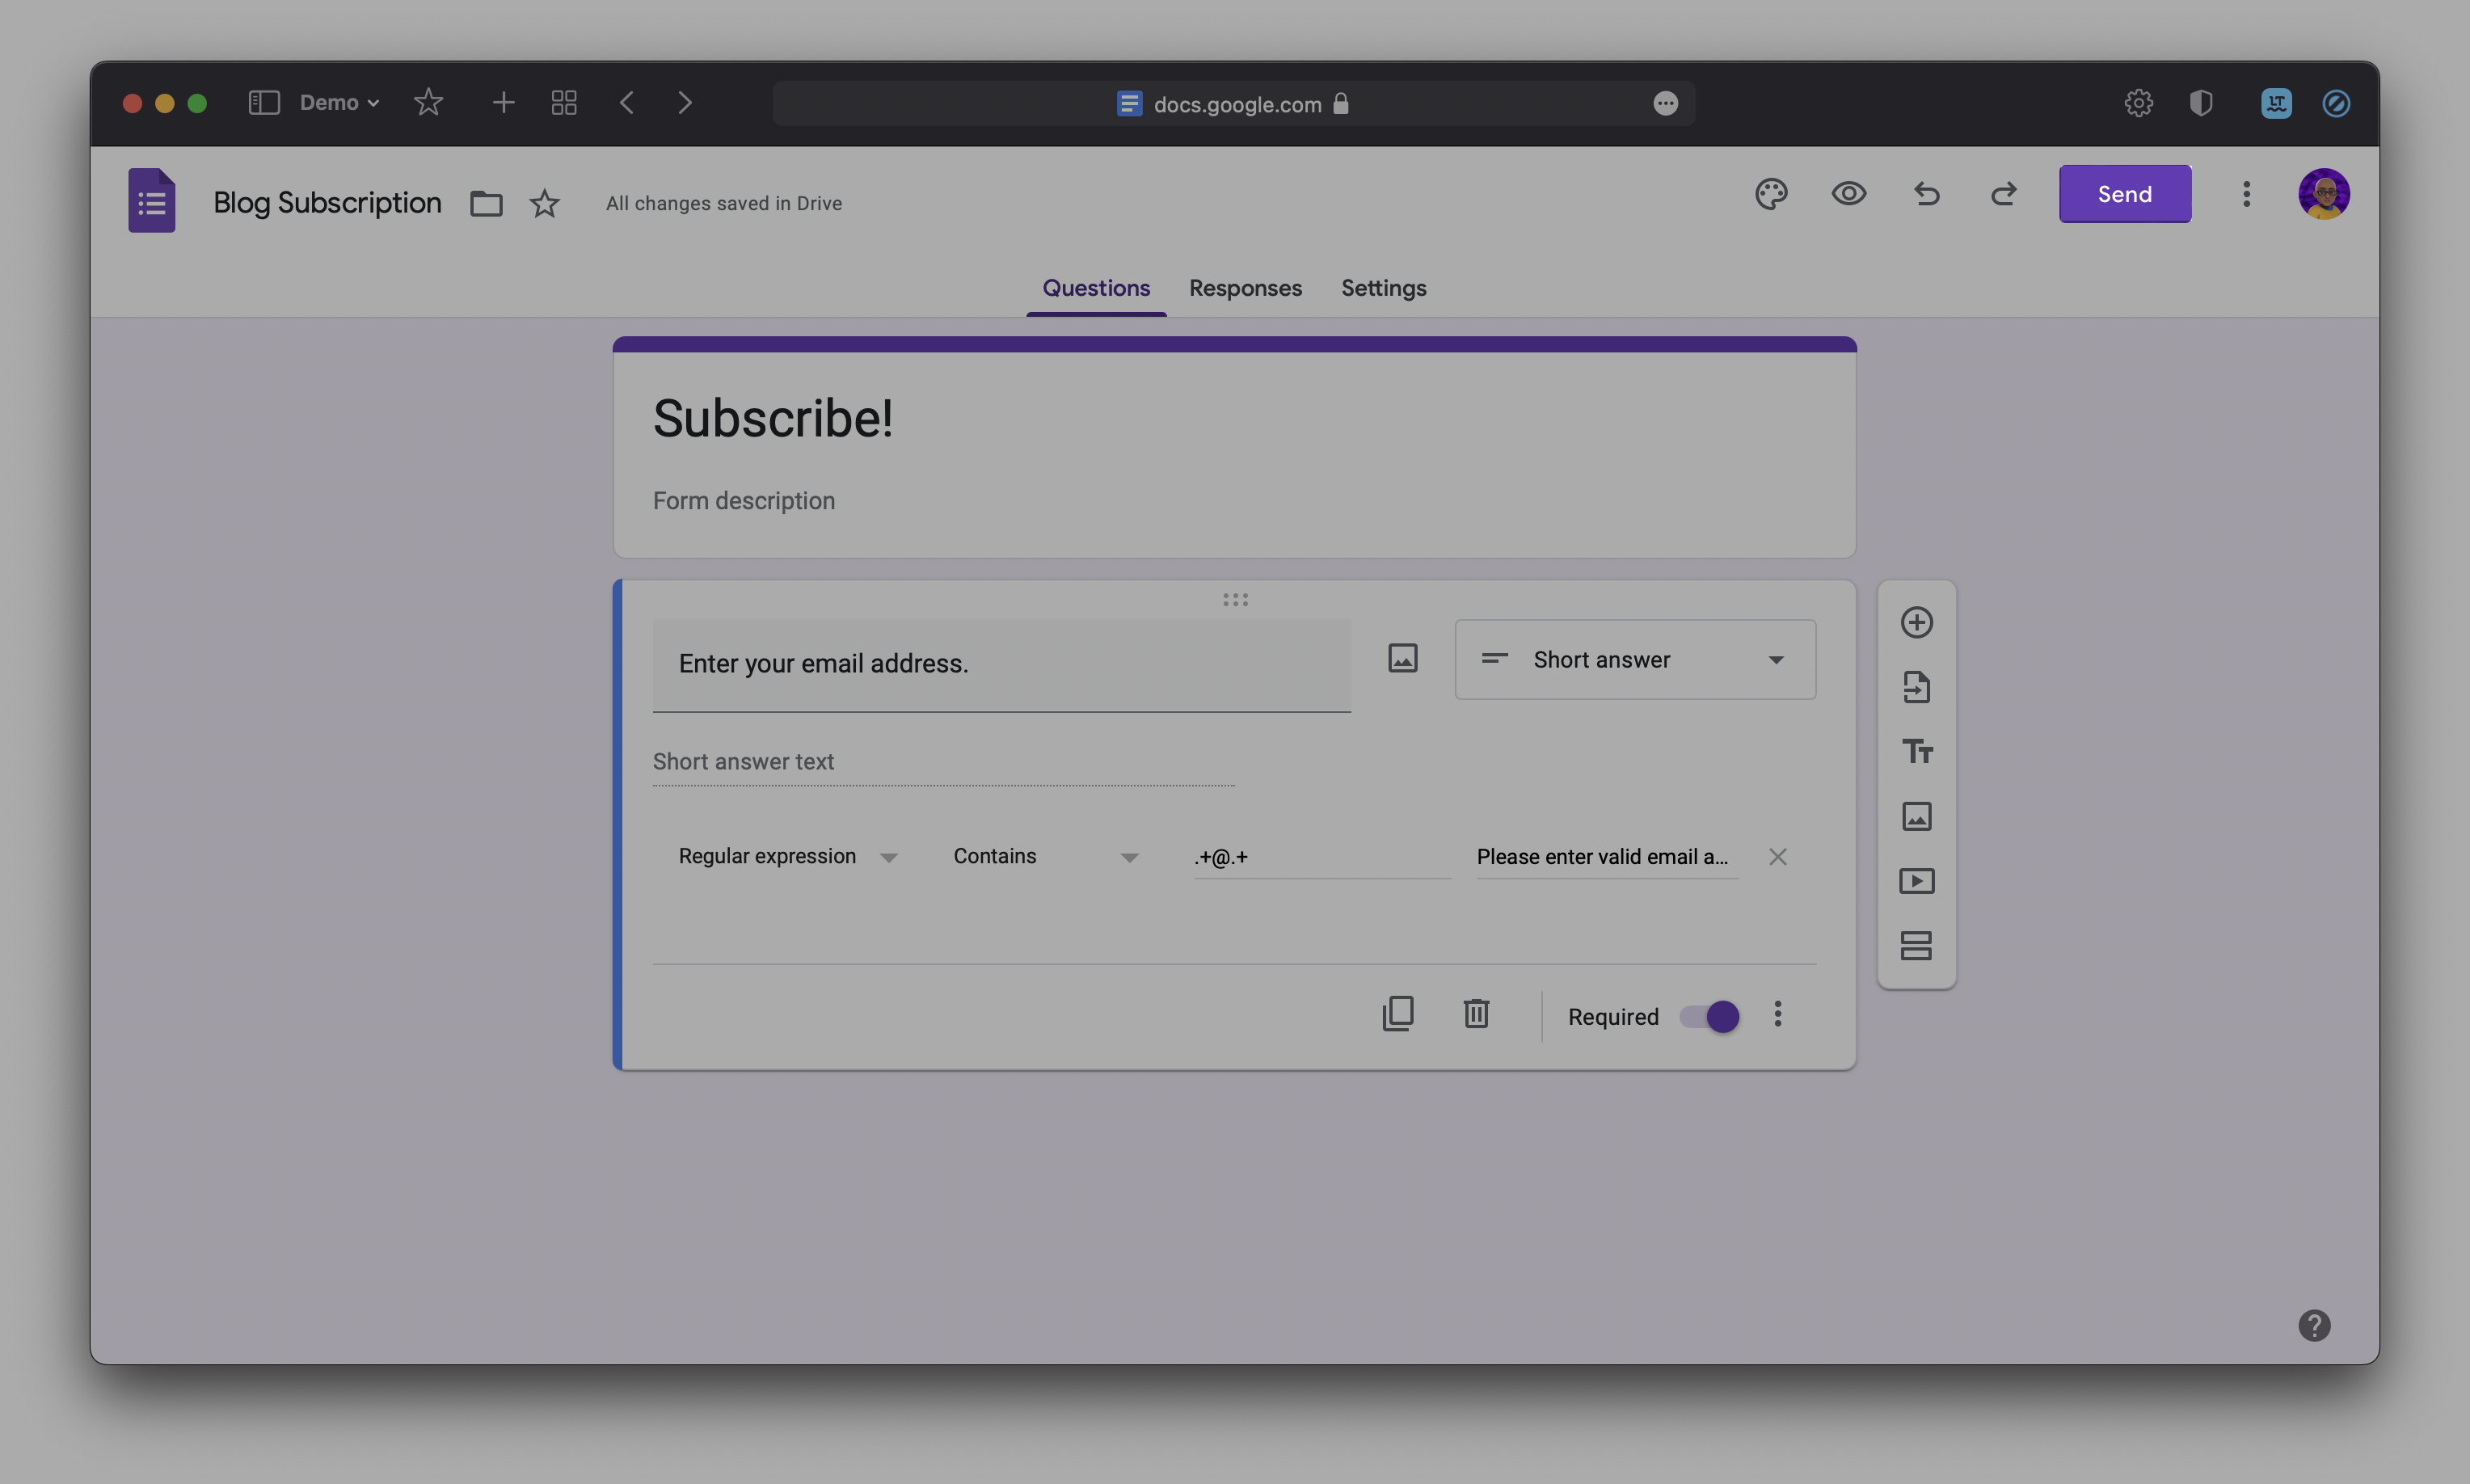
Using your online form provider of choice, create your form! A simple form would include a text box for inputting an email, with a simple check to see if the entered email is valid.

On Google Forms, you have an option to implement email checking with the following option.
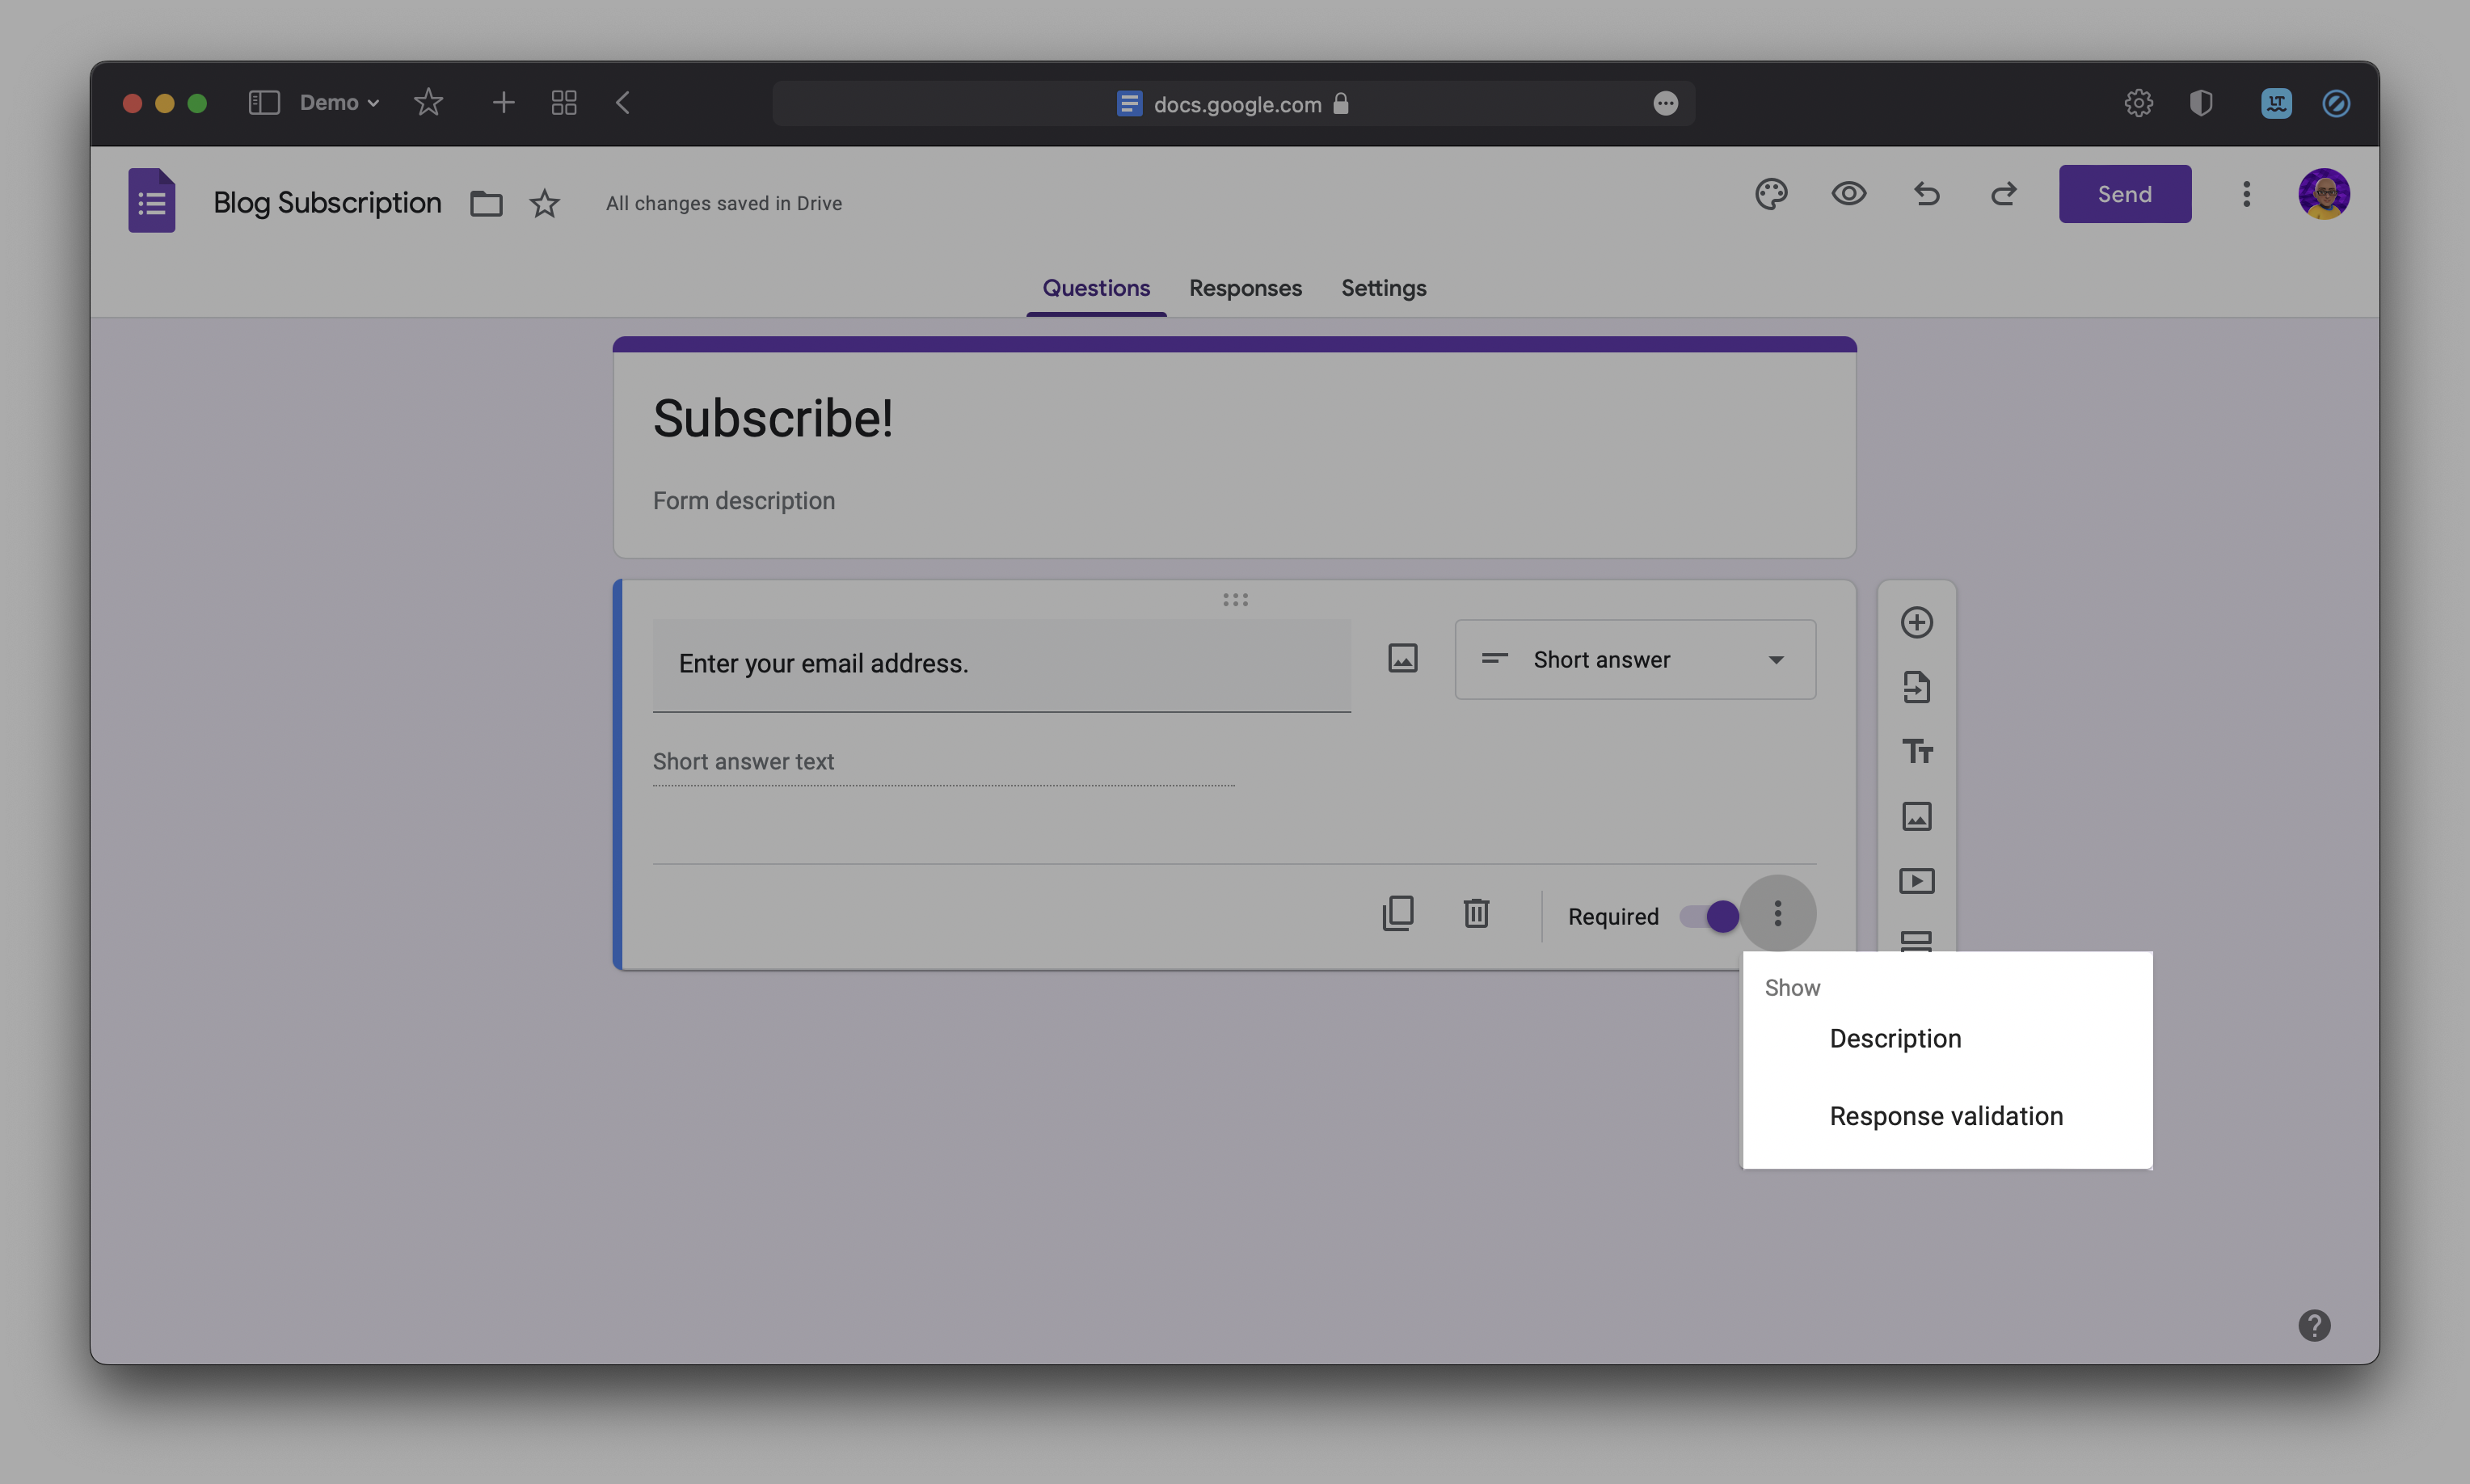
You may want to allow responses to be edited after submission, create a confirmation message, and disable a link to submit another response.
In Google Forms, these options can be toggled under the ‘Settings’ tab.
Step 2: Obtain the embed snippet.
Obtain the HTML snippet which you can paste into your website’s source.
To do this, press send…
…go to the embed tab…
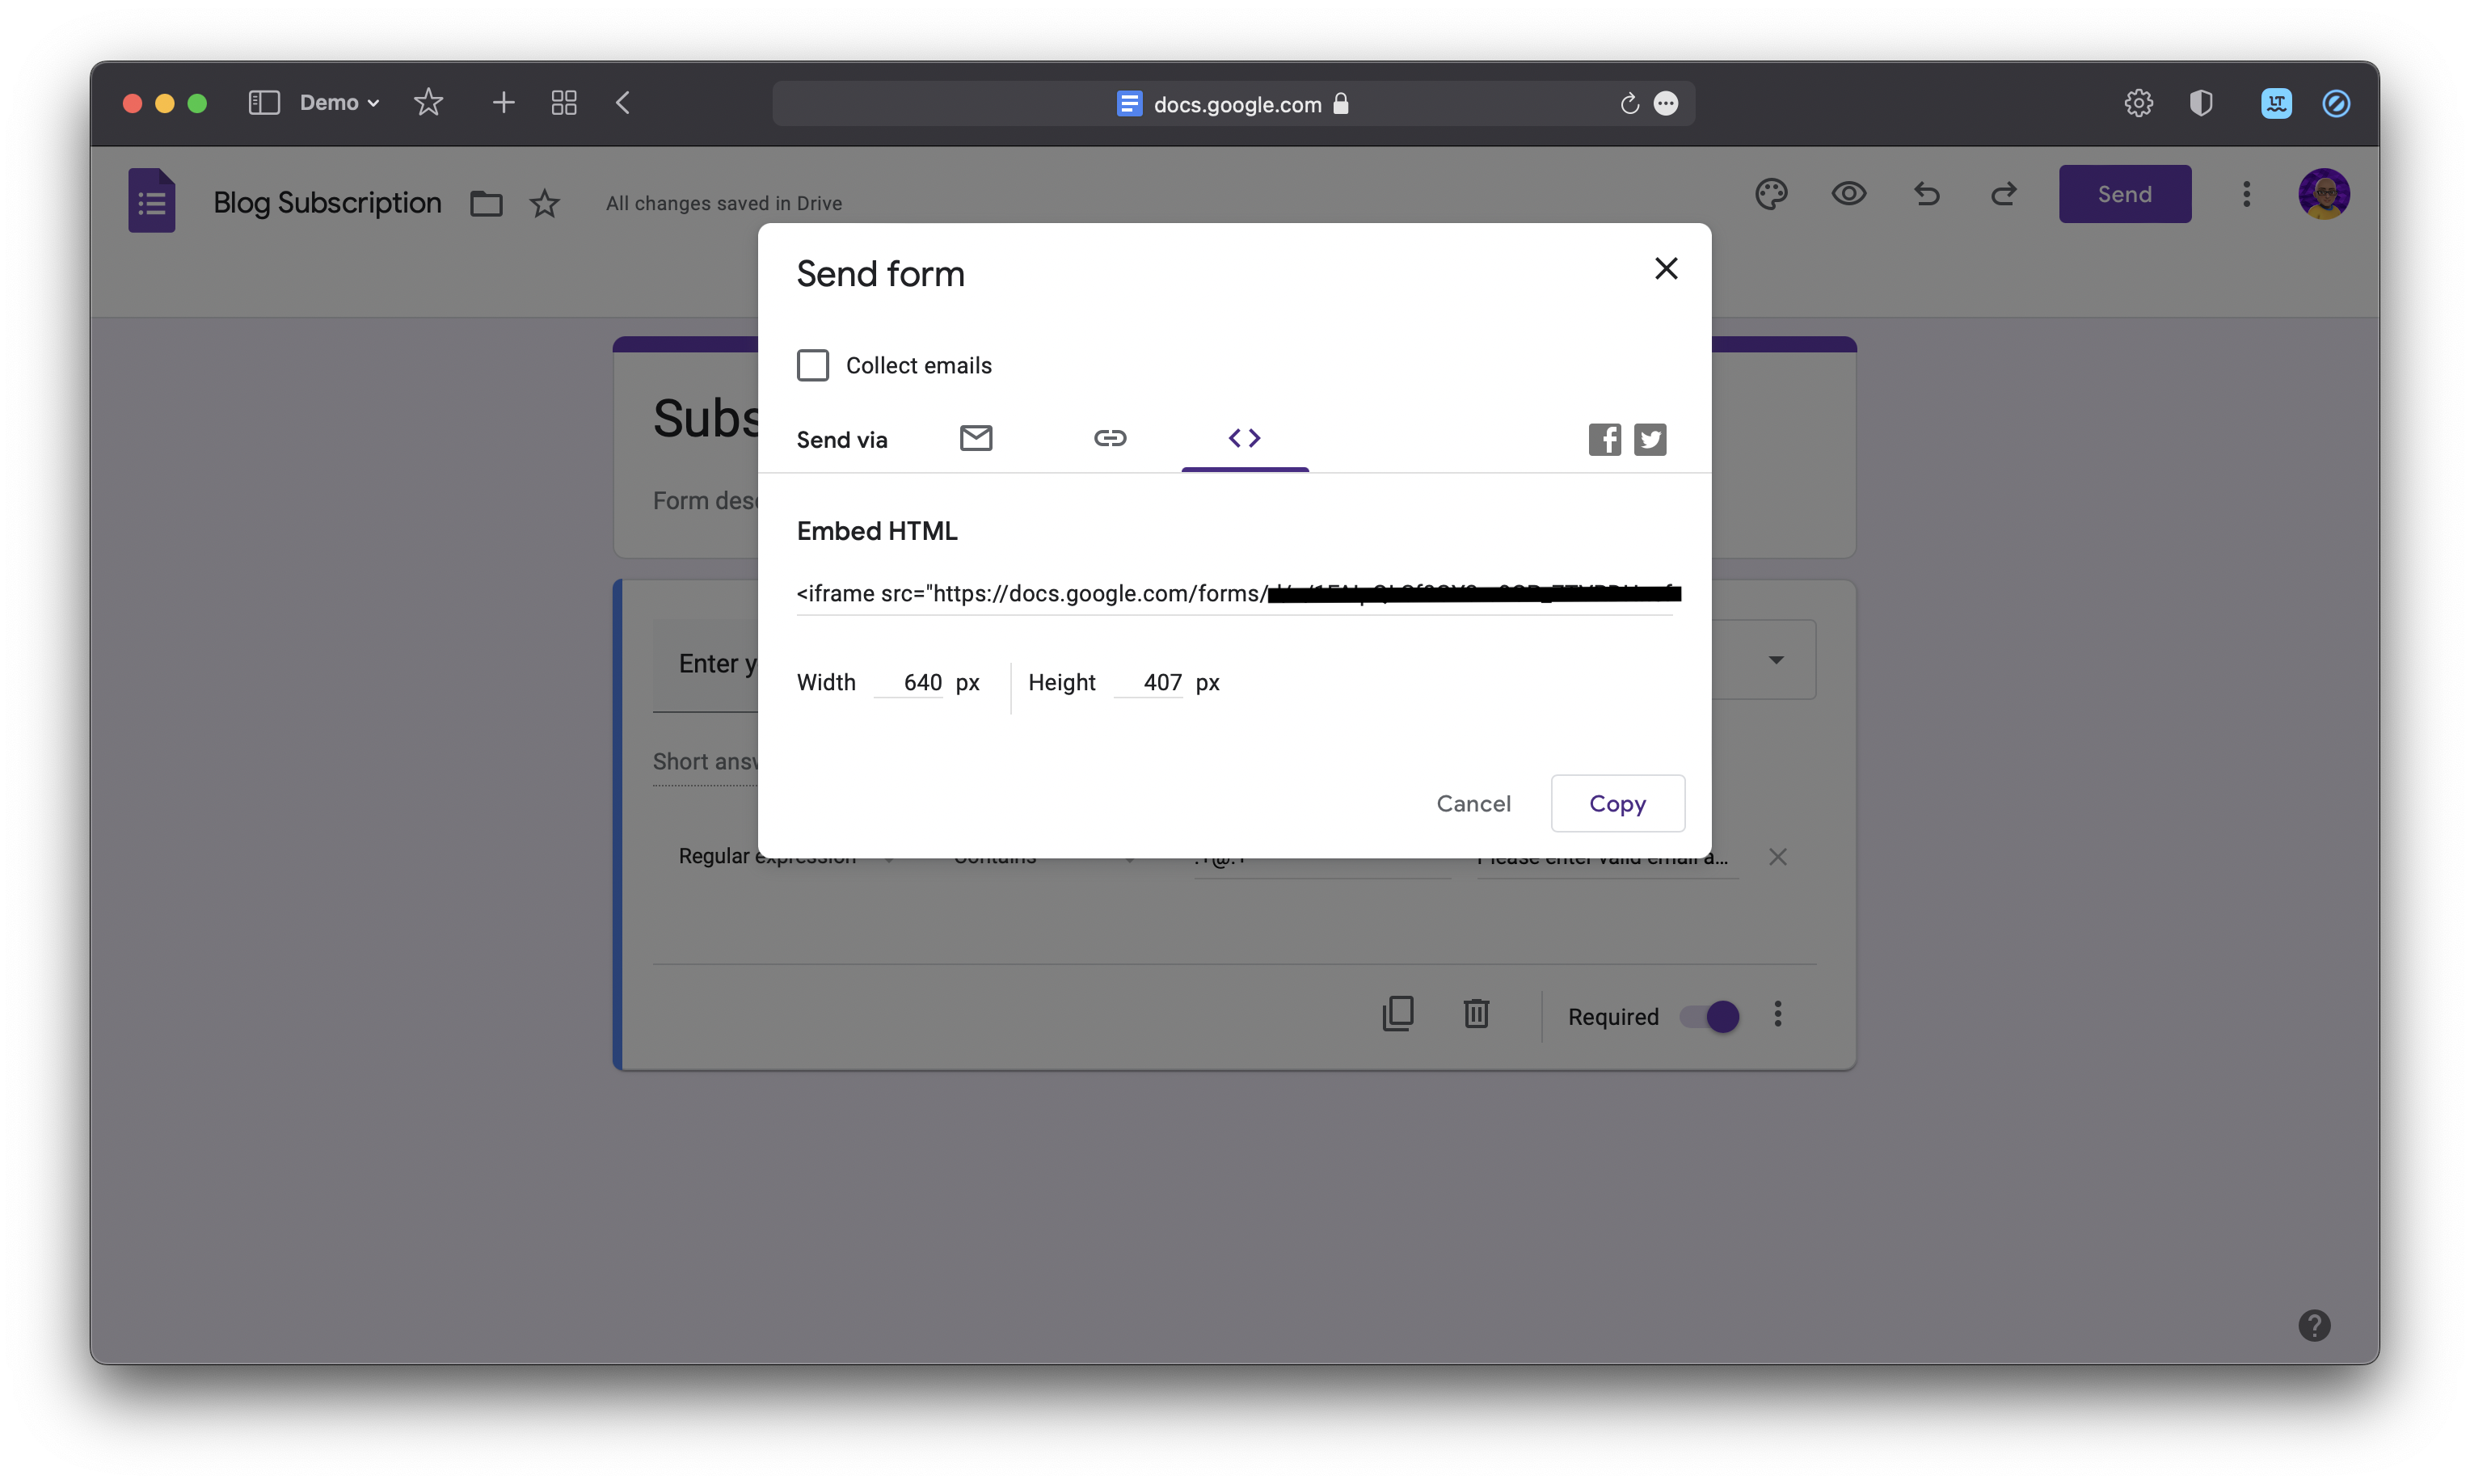
…and copy the snippet.
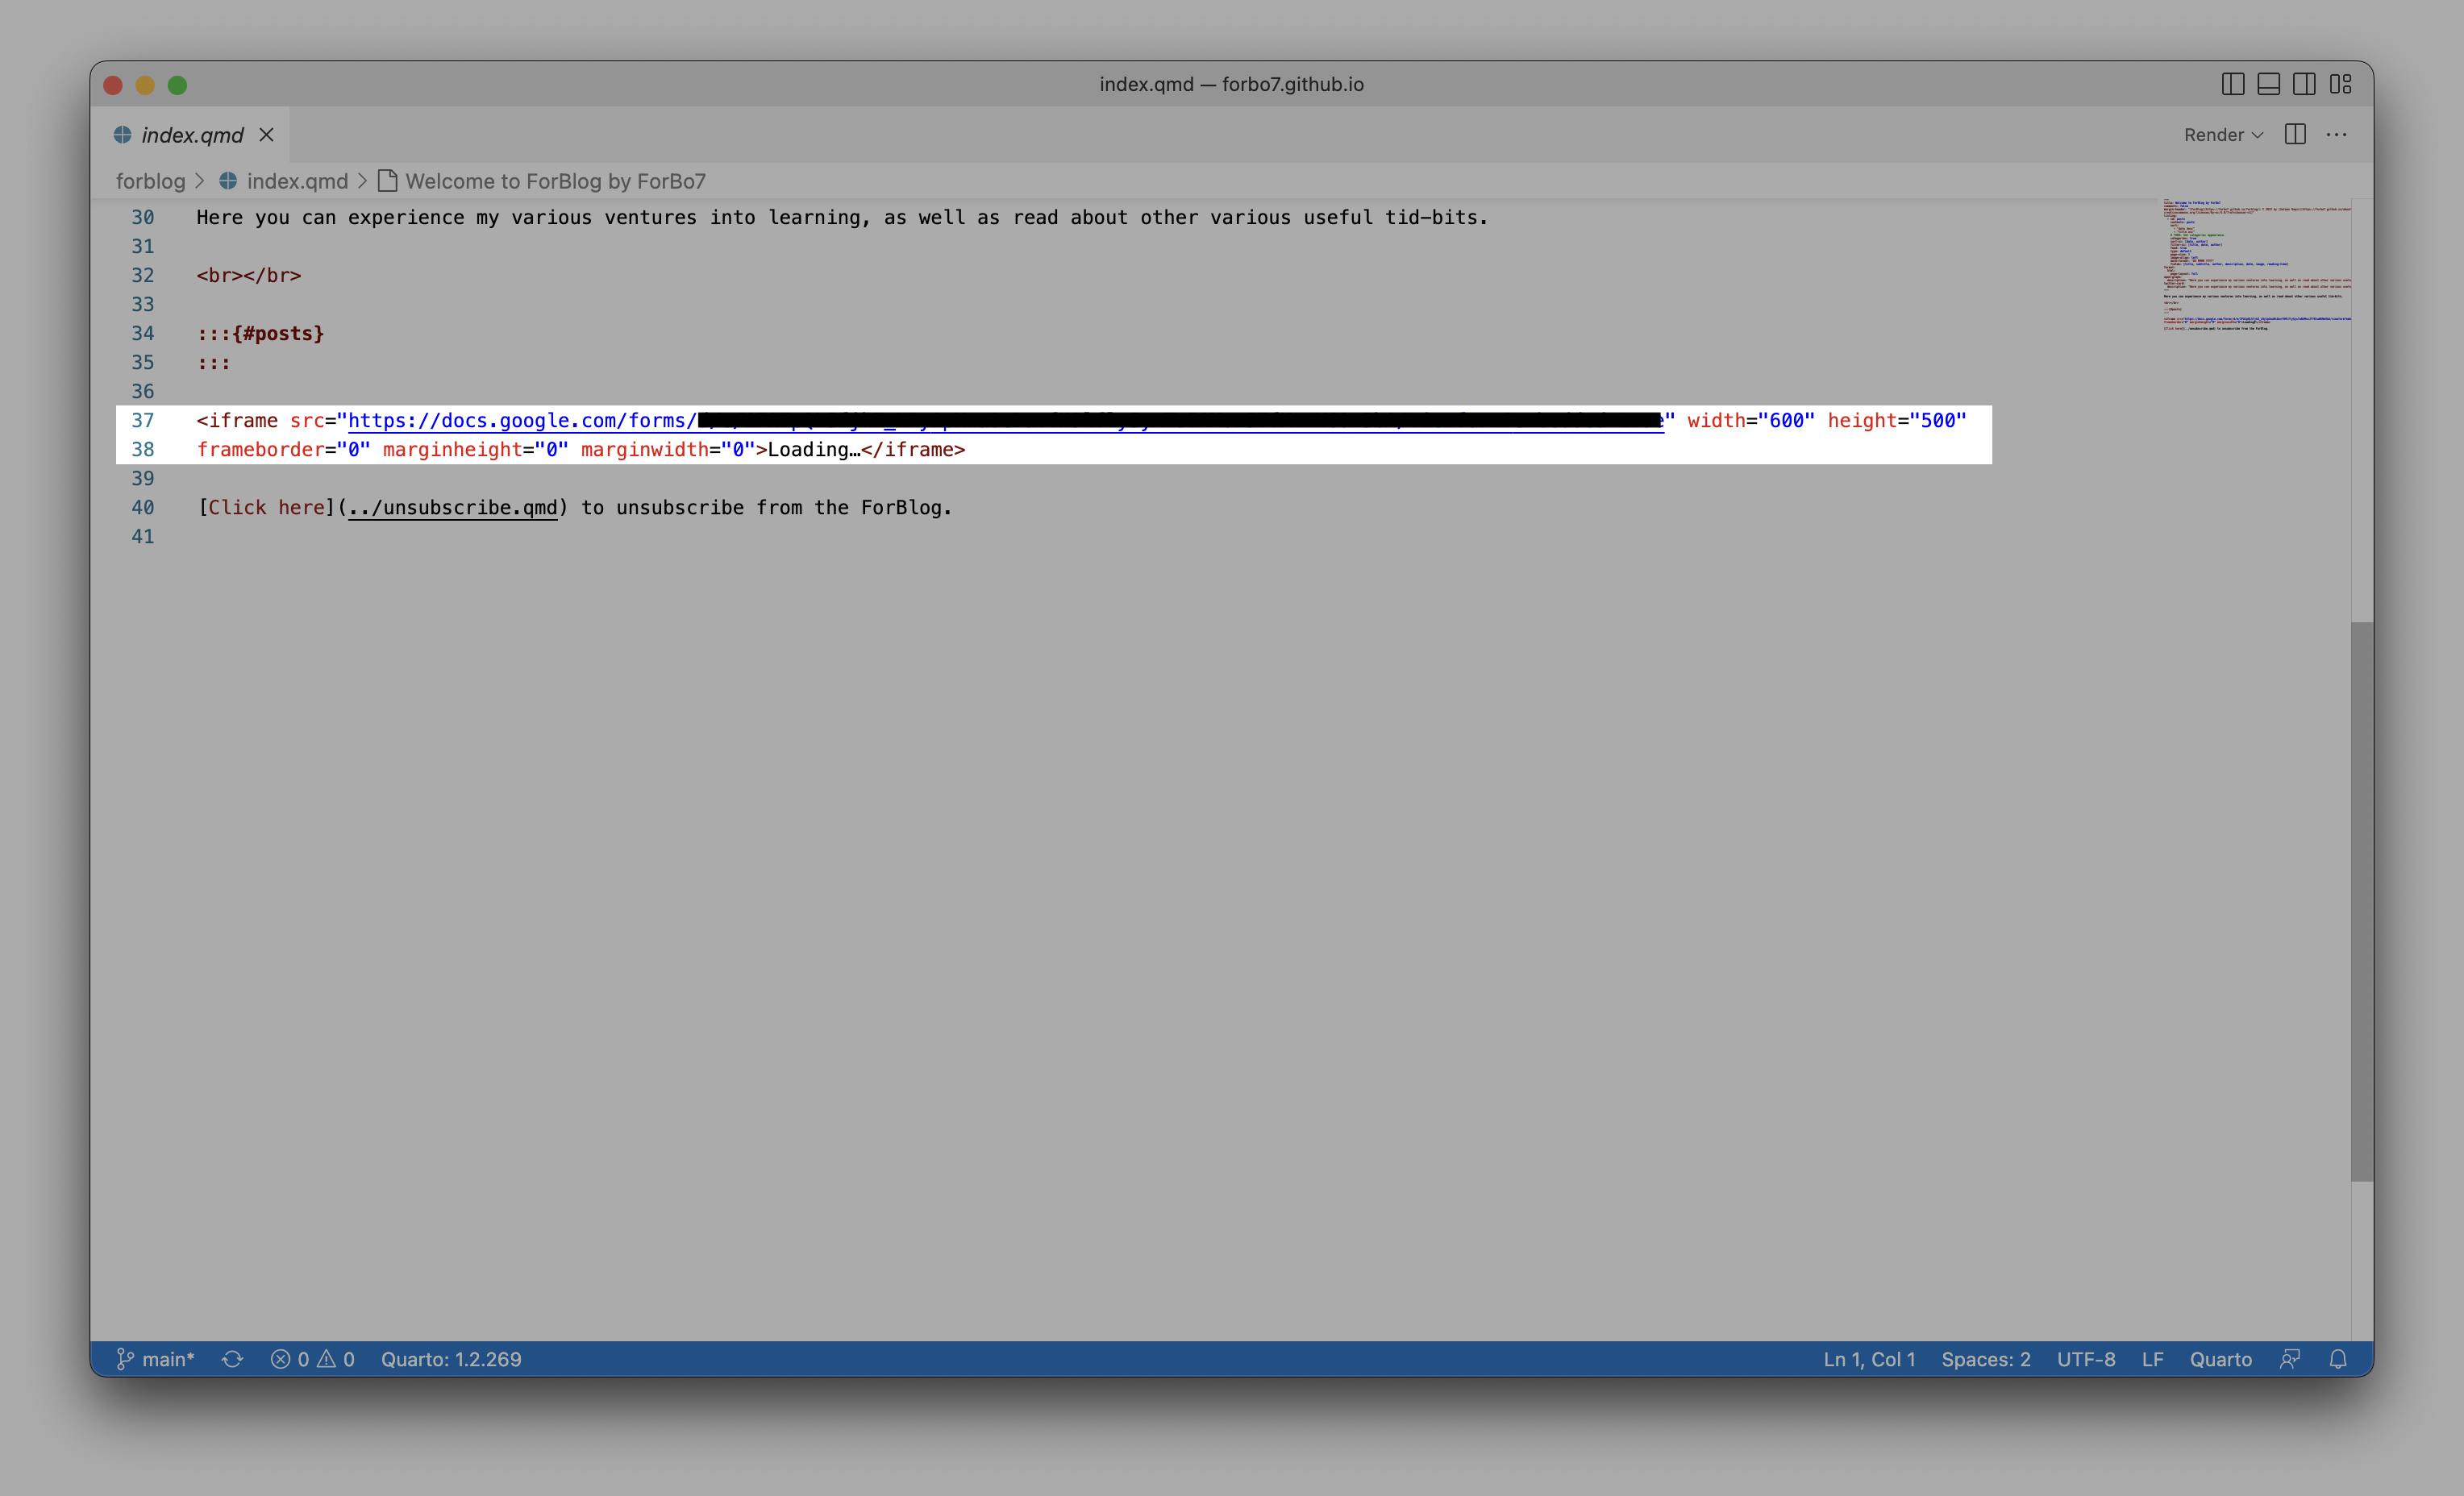
Step 3: Embed the embed
Paste the snippet whereever you want to put the form on your site!
You can adjust the size of the embed by tweaking these values.

Step 4: Unsubscribing.
Repeat steps 1-3 above and create a form that would allow subscribers to unsubscribe from receiving notifications. Make sure this form is clearly accessible in your site.
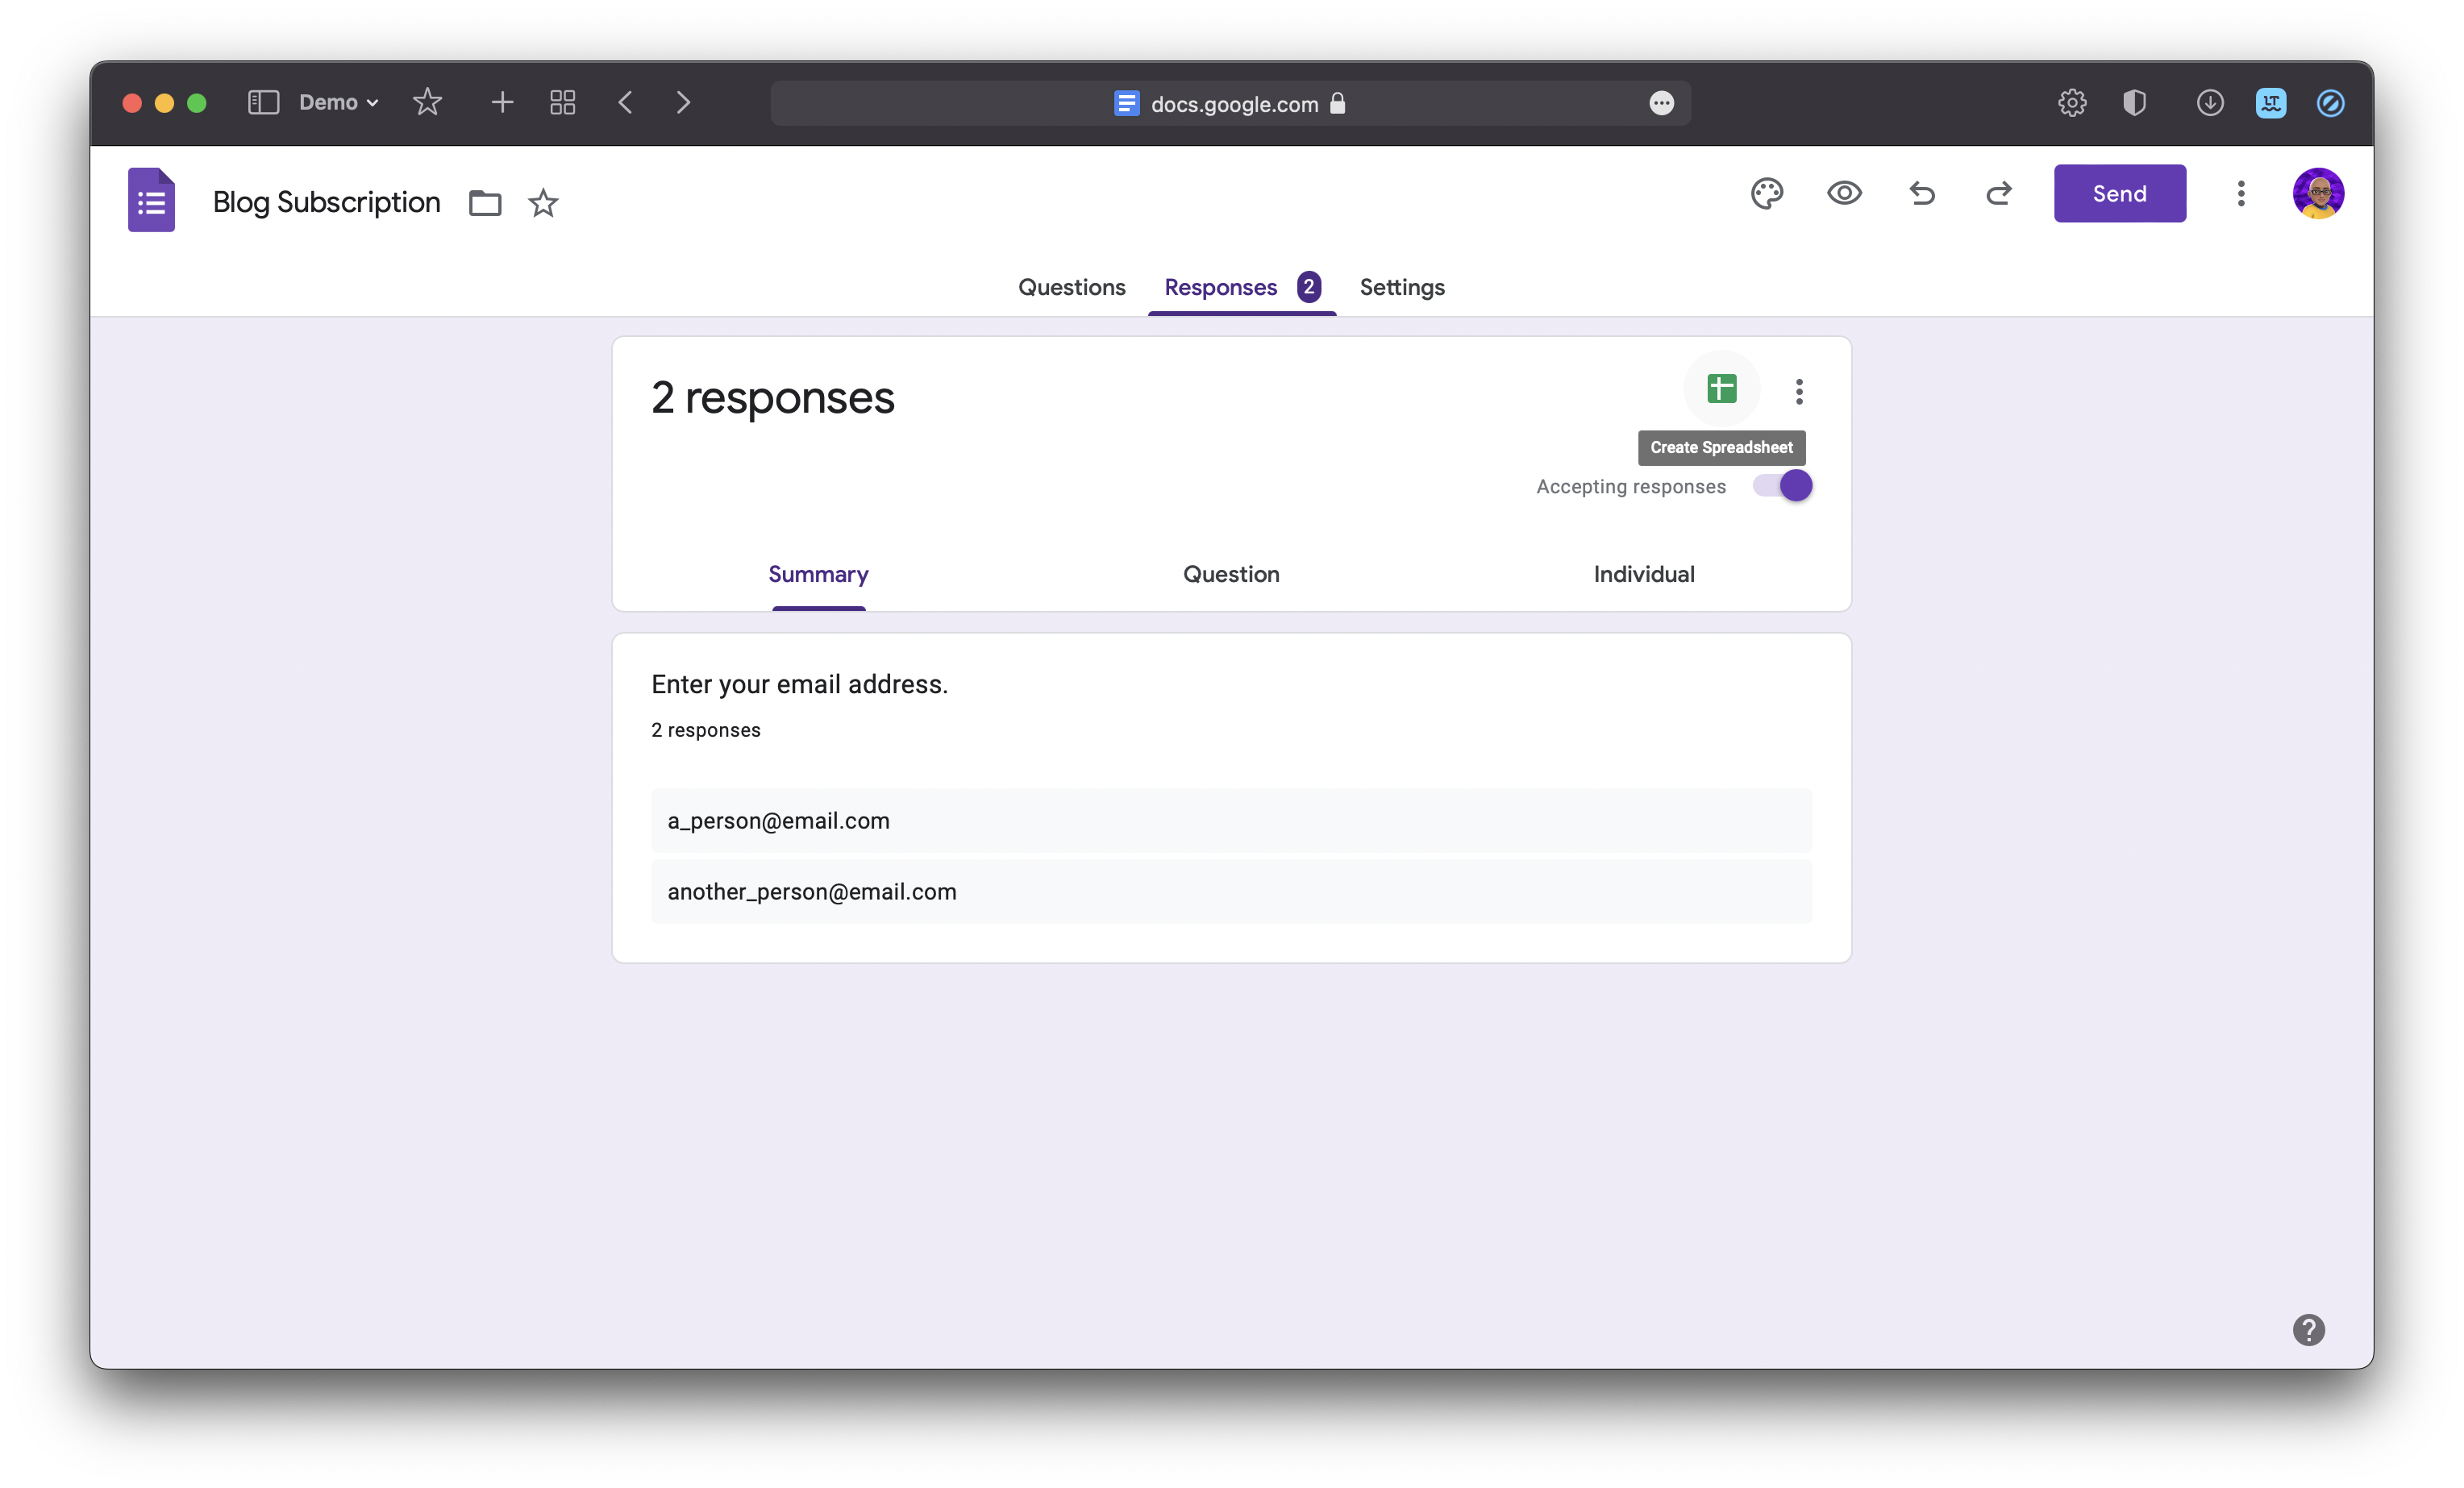
Step 5: Gathering emails.
Head to the responses tab of your form.
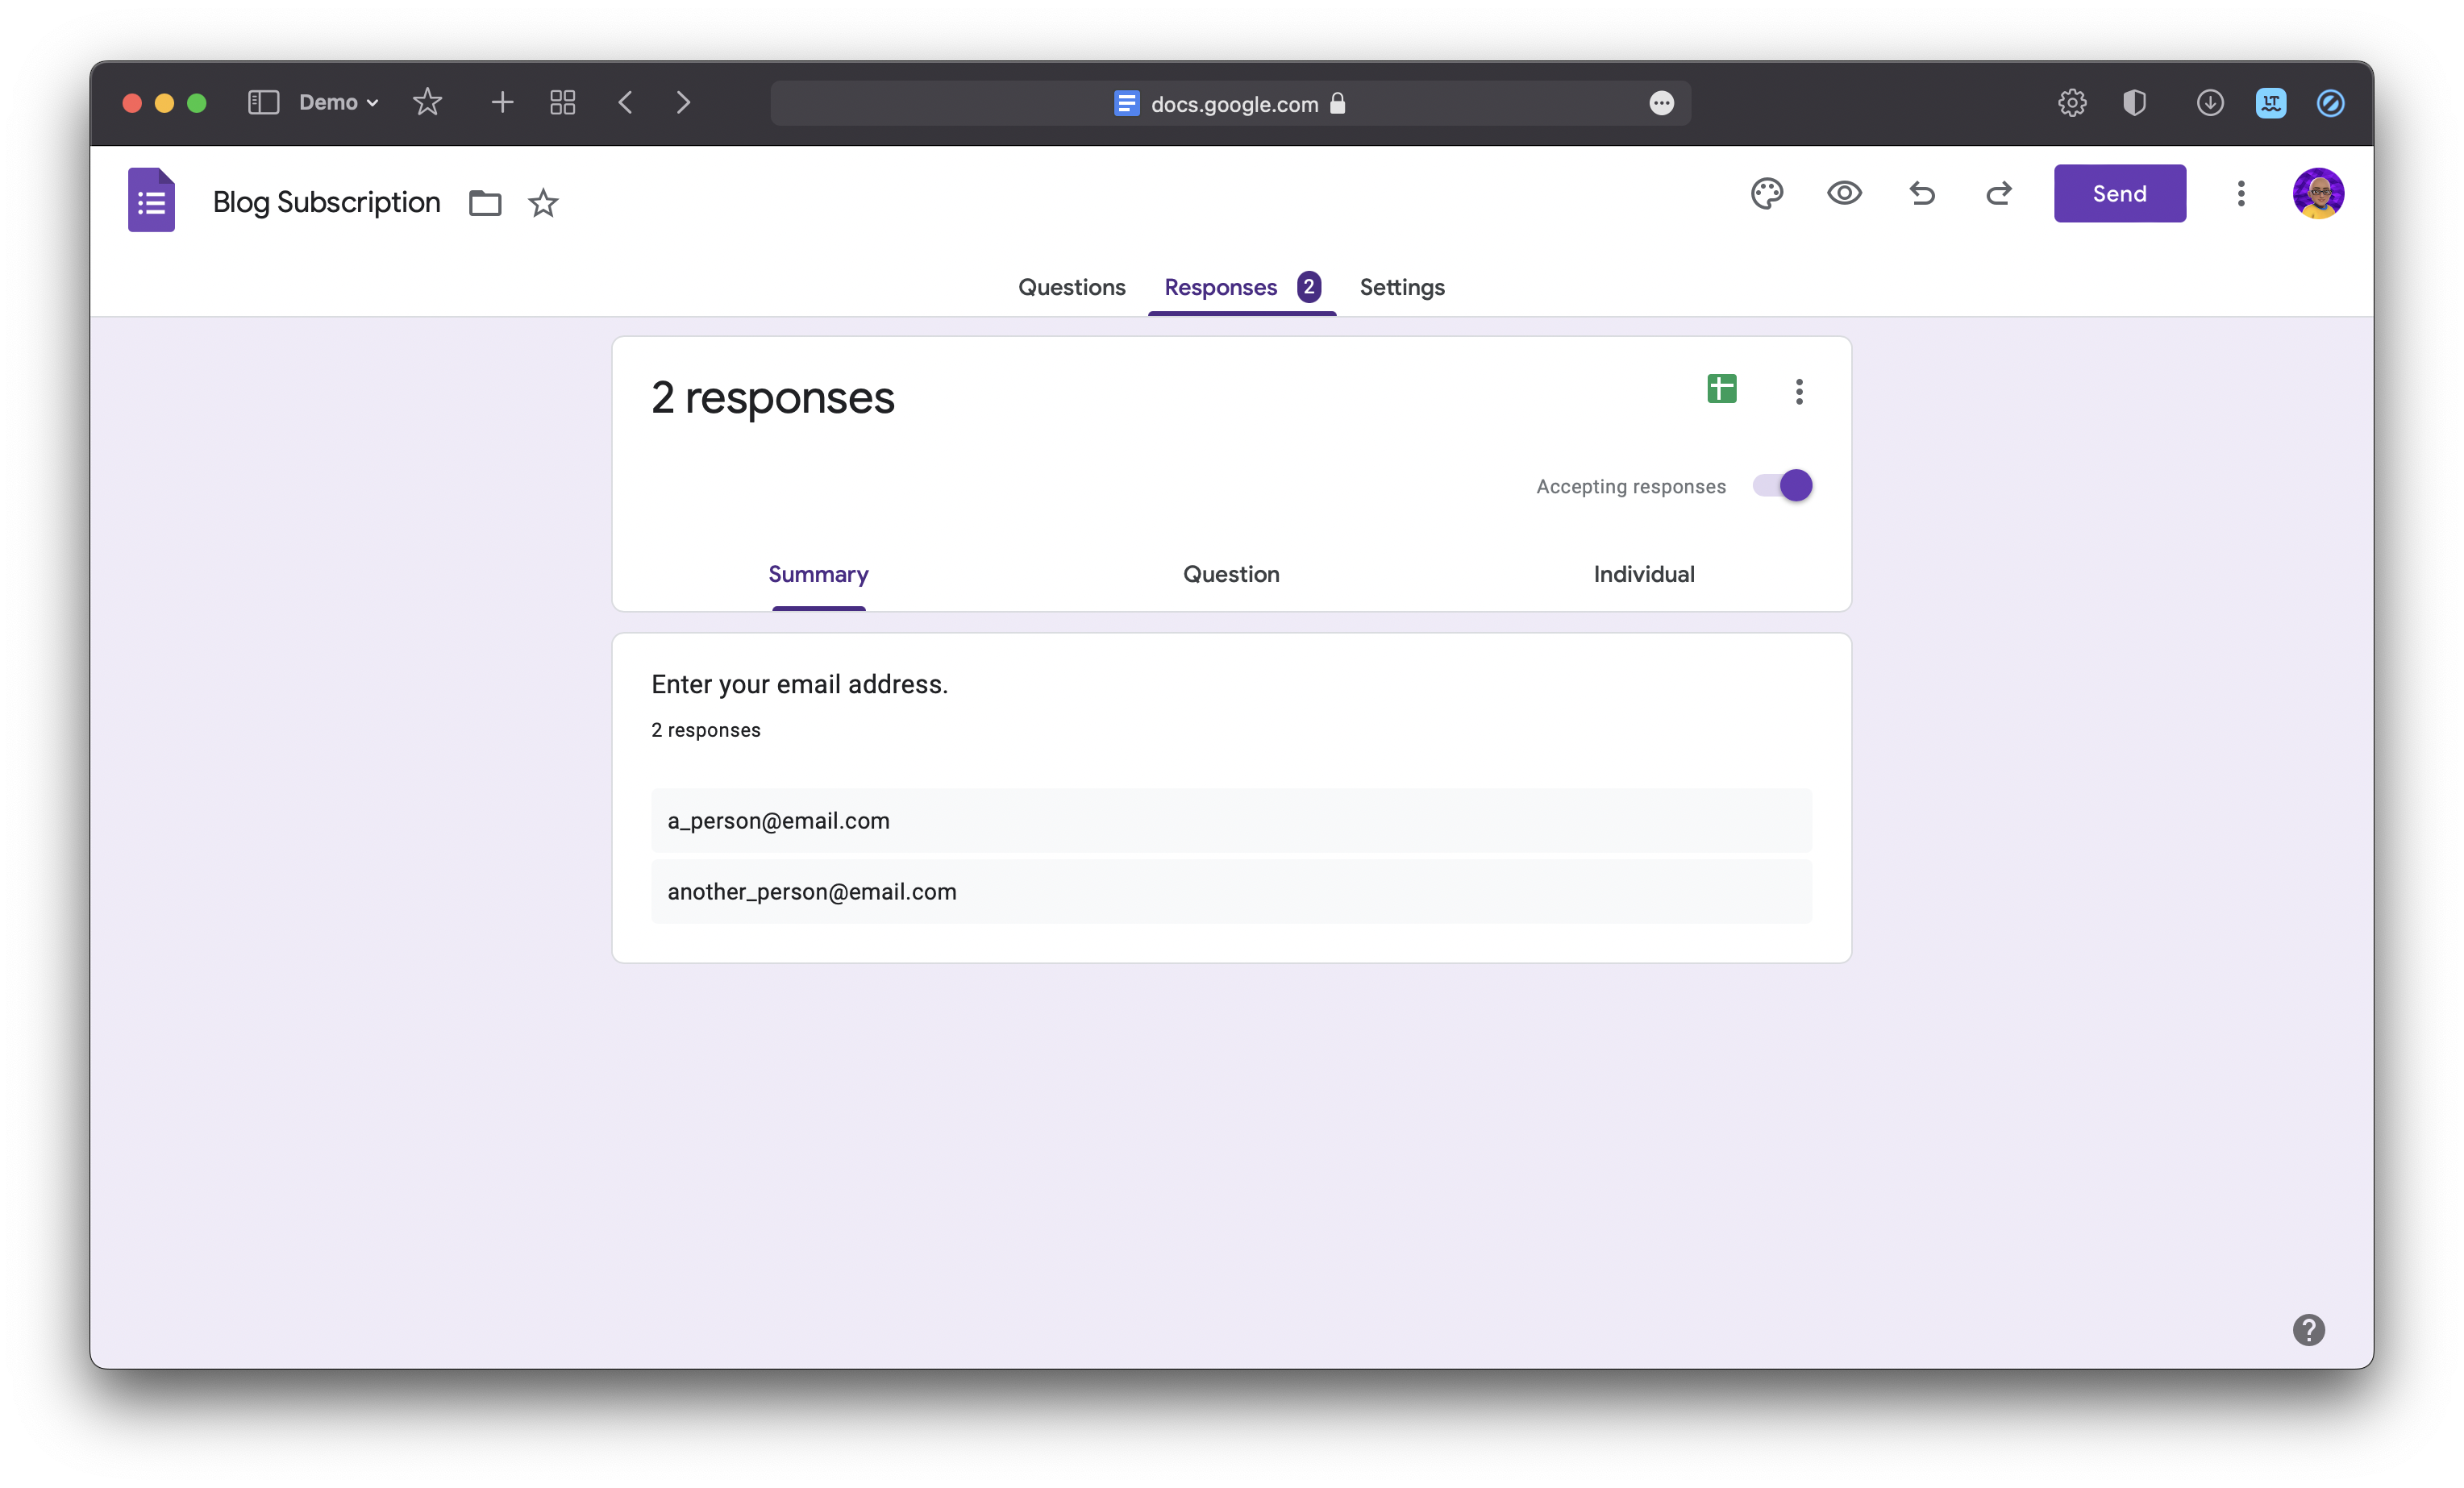
You can take these email addresses and create a mailing list in the email service of your choice.
You can also download a CSV file containing the responses.
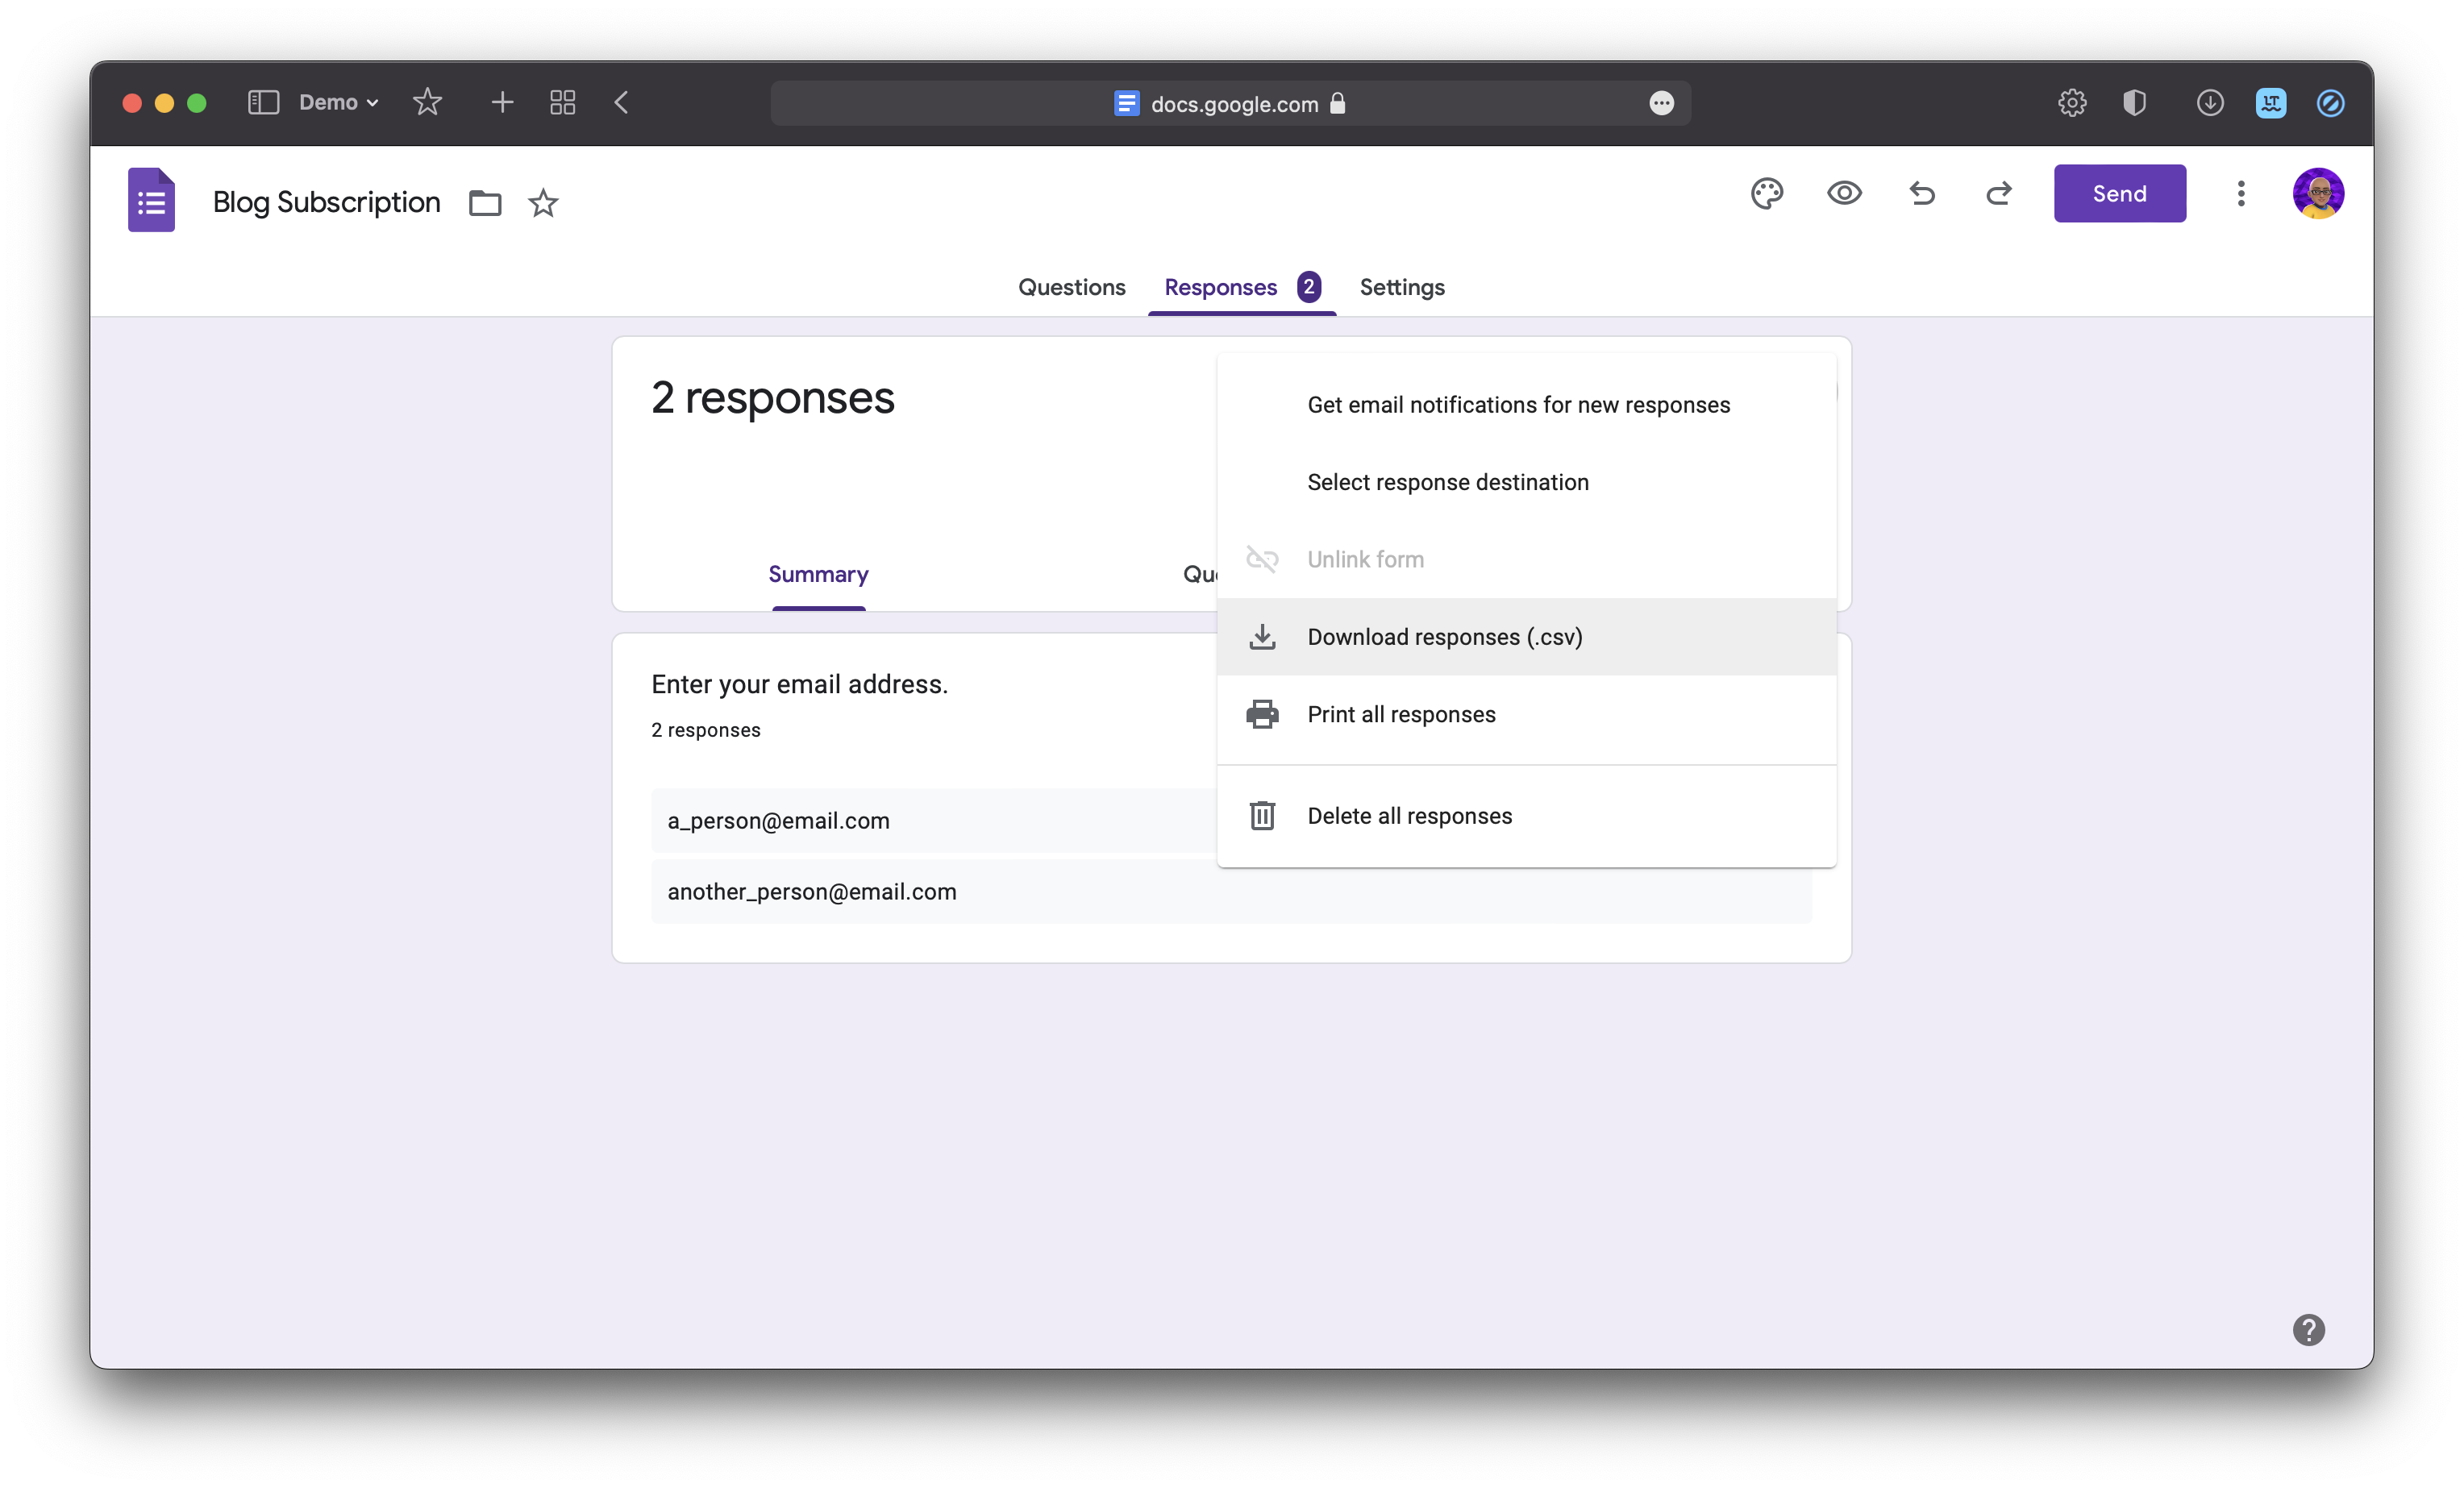
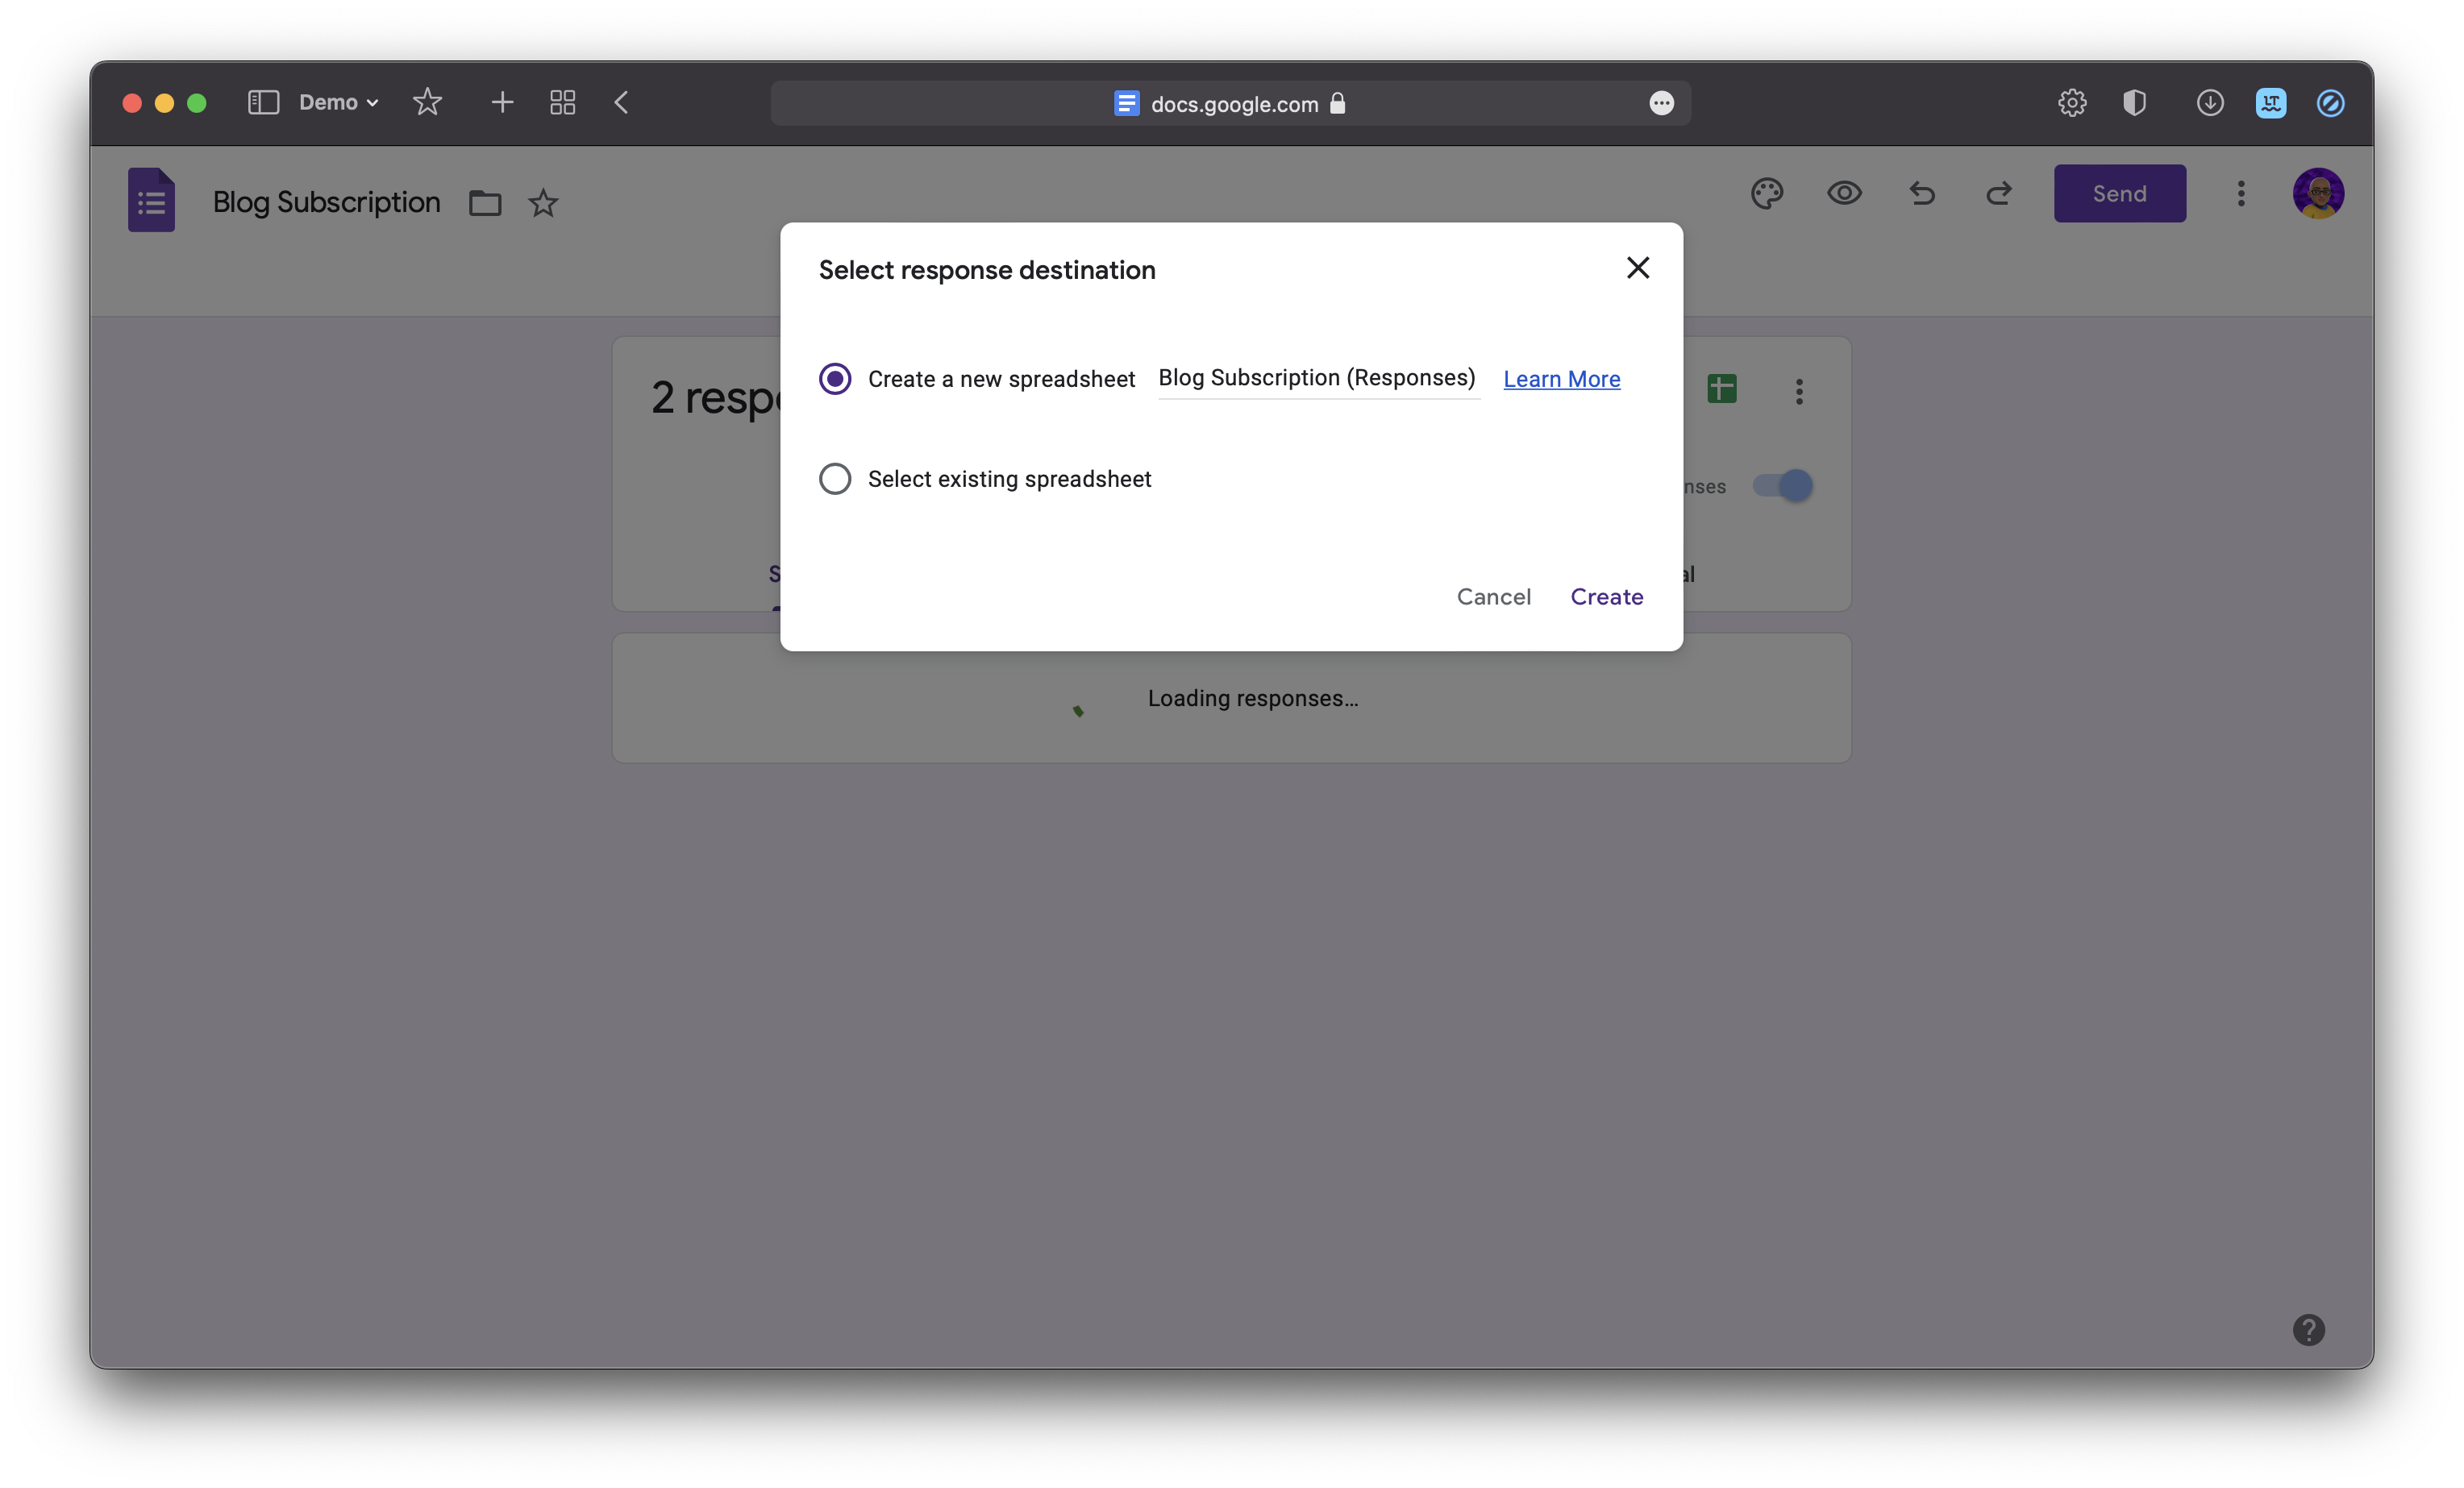
Alternatively, you can also create a spreadsheet by clicking on the spreadsheet icon.
At the same time, check the responses in your unsubscribe form and tally them against the responses received in your subscribe form. Remove any email addresses that need to be removed.
Step 6: Compose and send!
Now compose the email how you would like to, and hit that send button!
Make sure you include a clearly visible link in your email that would allow recipients to unsubscribe.
Step 0: Extras
You could combine the subscribe and unsubscribe forms into a single form so it would be easier to manage. The form would initially ask if a user would like to subscribe or unsubscribe. Based on their input, the form would take them to the appropriate section.
Further expanding on this, if your site has multiple feeds, the form could also ask which feed the user would like to subscribe to or unsubscribe from.
Live example
Check out Salman Naqvi’s ForBlog to see embedded forms in action!
Option 3
Perhaps you know some HTML and JS, or even only JS, and don’t have an alternative address. Instead of creating the frontend with HTML, try using the Quarto HTML Forms extension by Jonathan Graves.
This extension allows you to implement HTML forms through Quarto Shortcodes and YAML Options. However, you still will need to handle the backend with JavaScript and perhaps a few other technologies. If you’re interested in implementing it this way, you probably already know how to. If not, there are plenty of great guides online!.
Acknowledgements
Thanks to Isaac Flath for collaborating with me on this guide! You can view his blog, works, and contact here.